Tavern Miniature
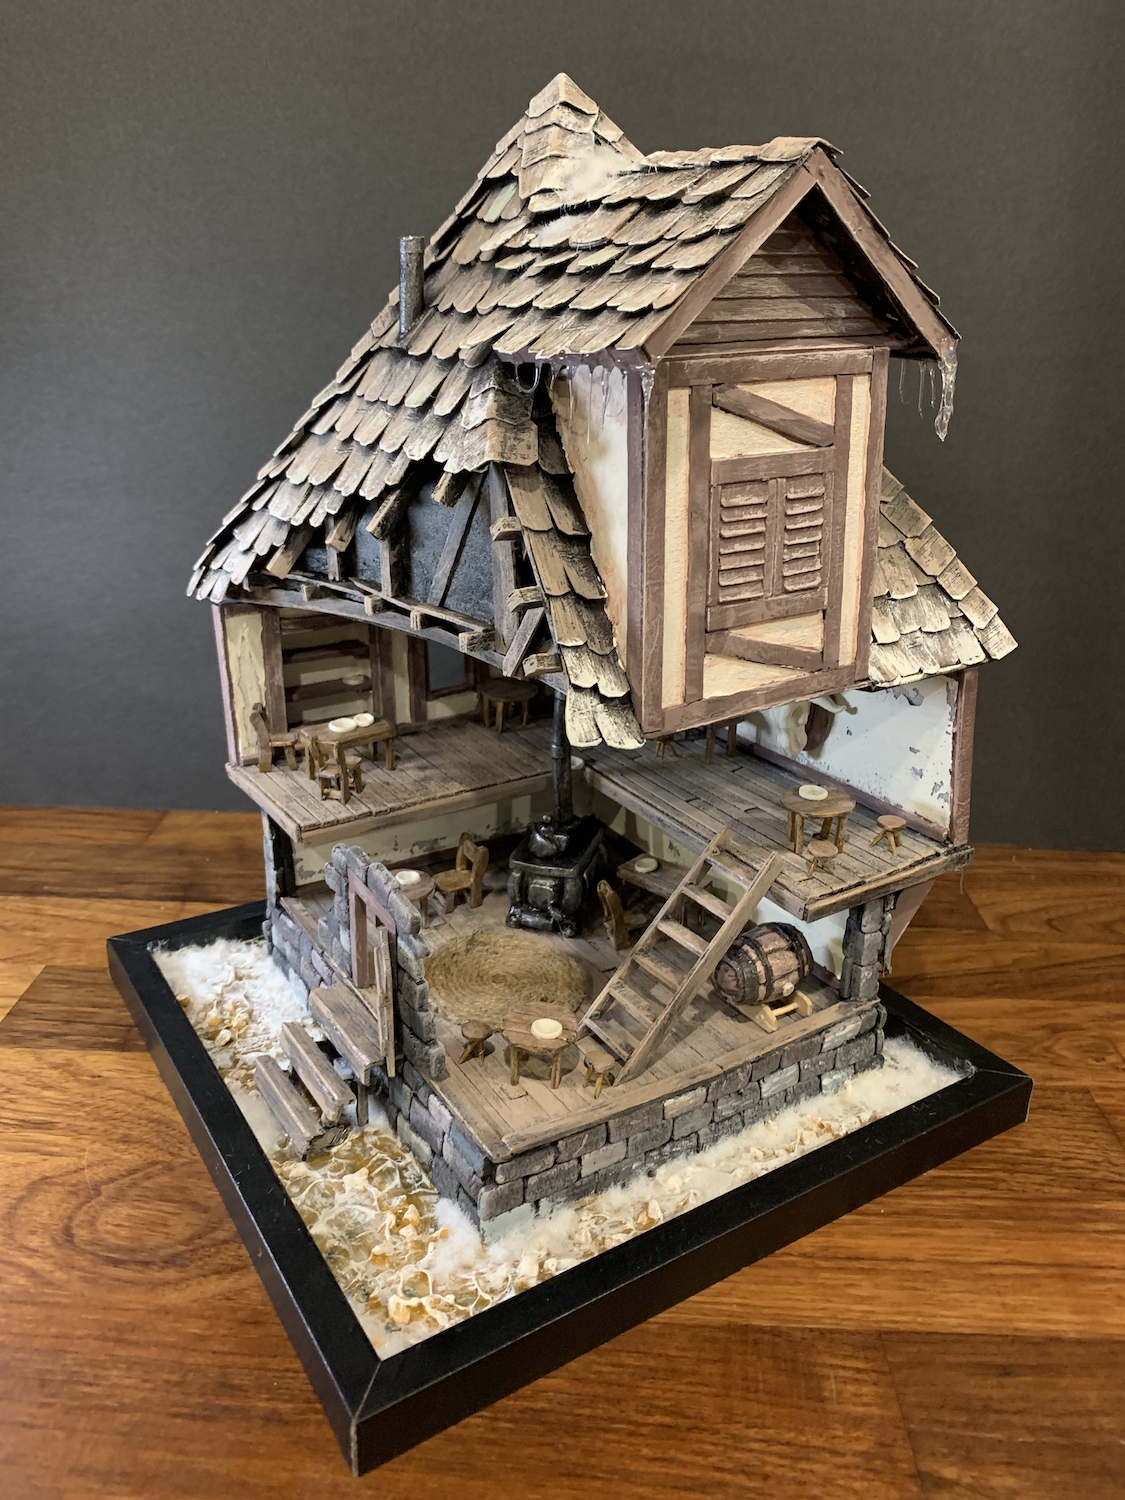
After watching many wonderful videos on YouTube for miniatures, I was inspired to do my own. I created this miniature during a time when I was having very mixed feelings about the NFT crypto-art scene. On one hand I really appreciate that some artists were able to make some money for their work, but it really changed the character of what people were posting and why. I decided to take a break from creative coding and start doing some more craft-focused work. I specifically built this for the Dungeons and Dragons game that I run with friends.
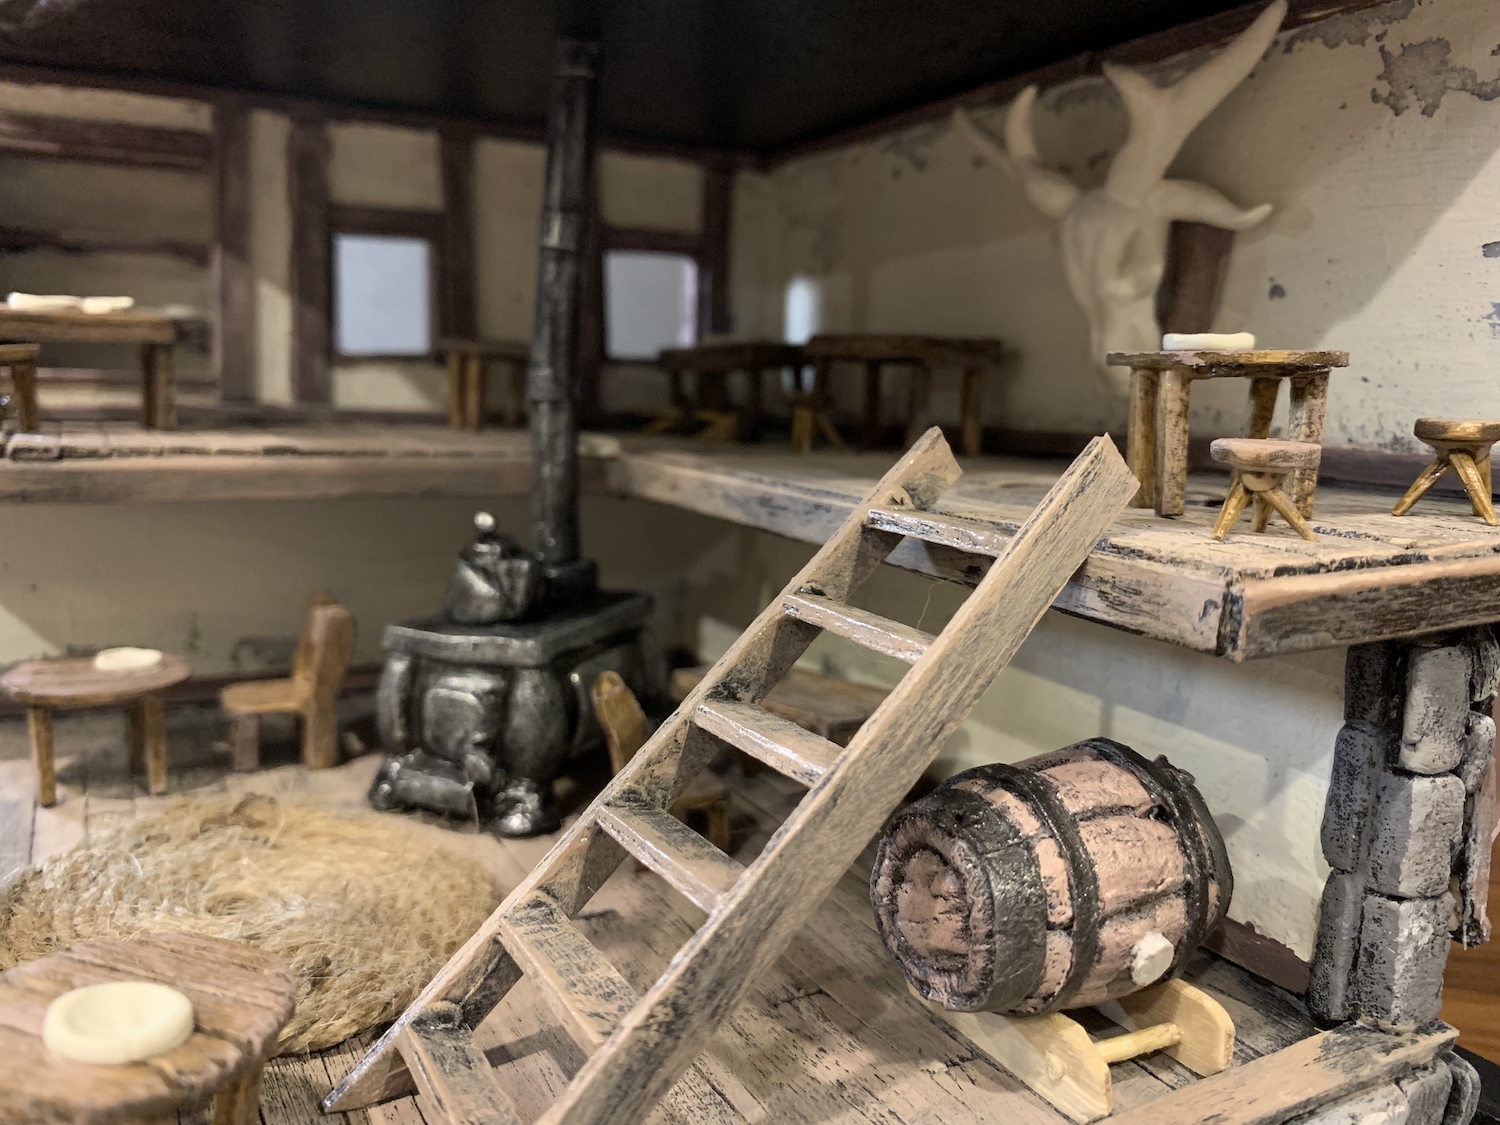
The Process
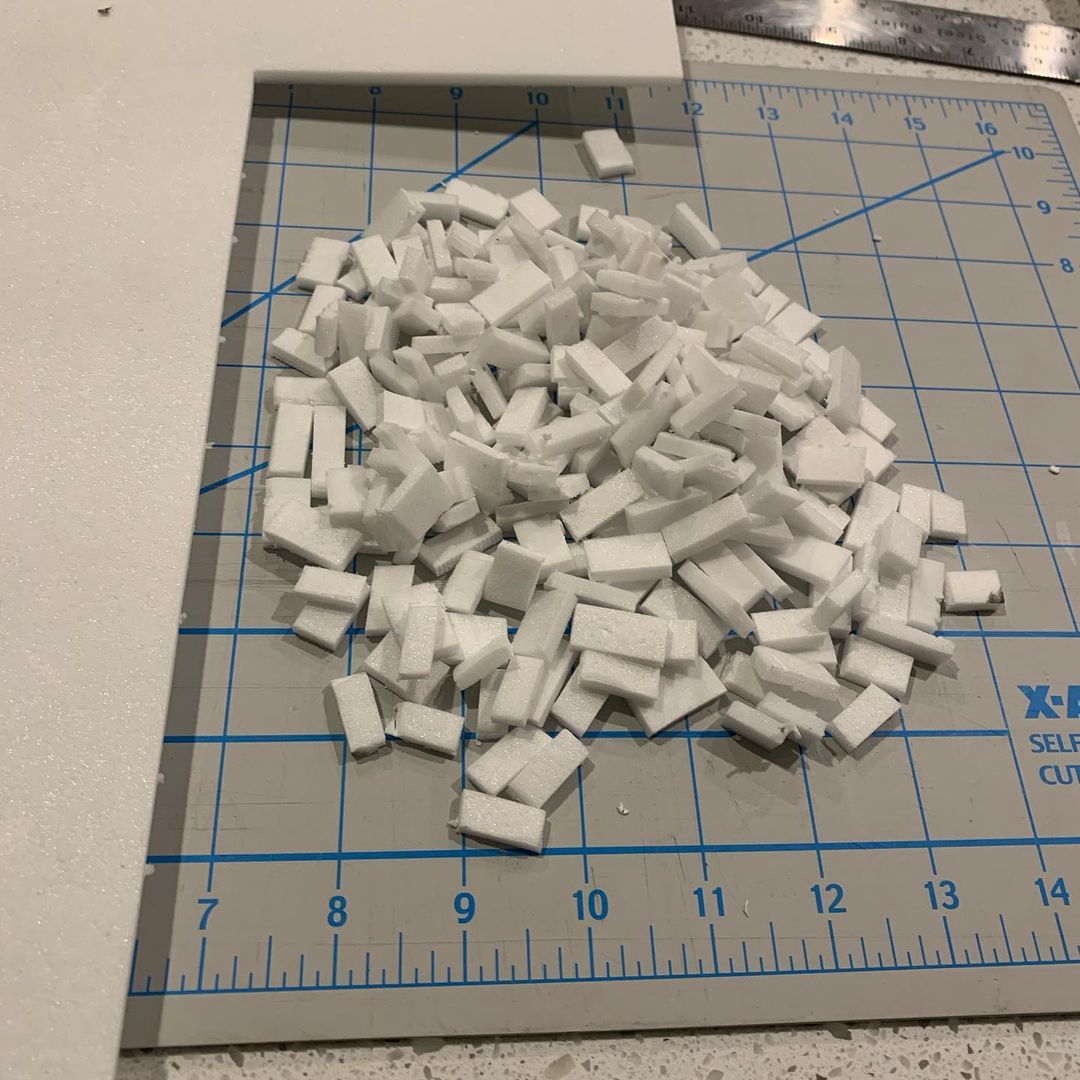
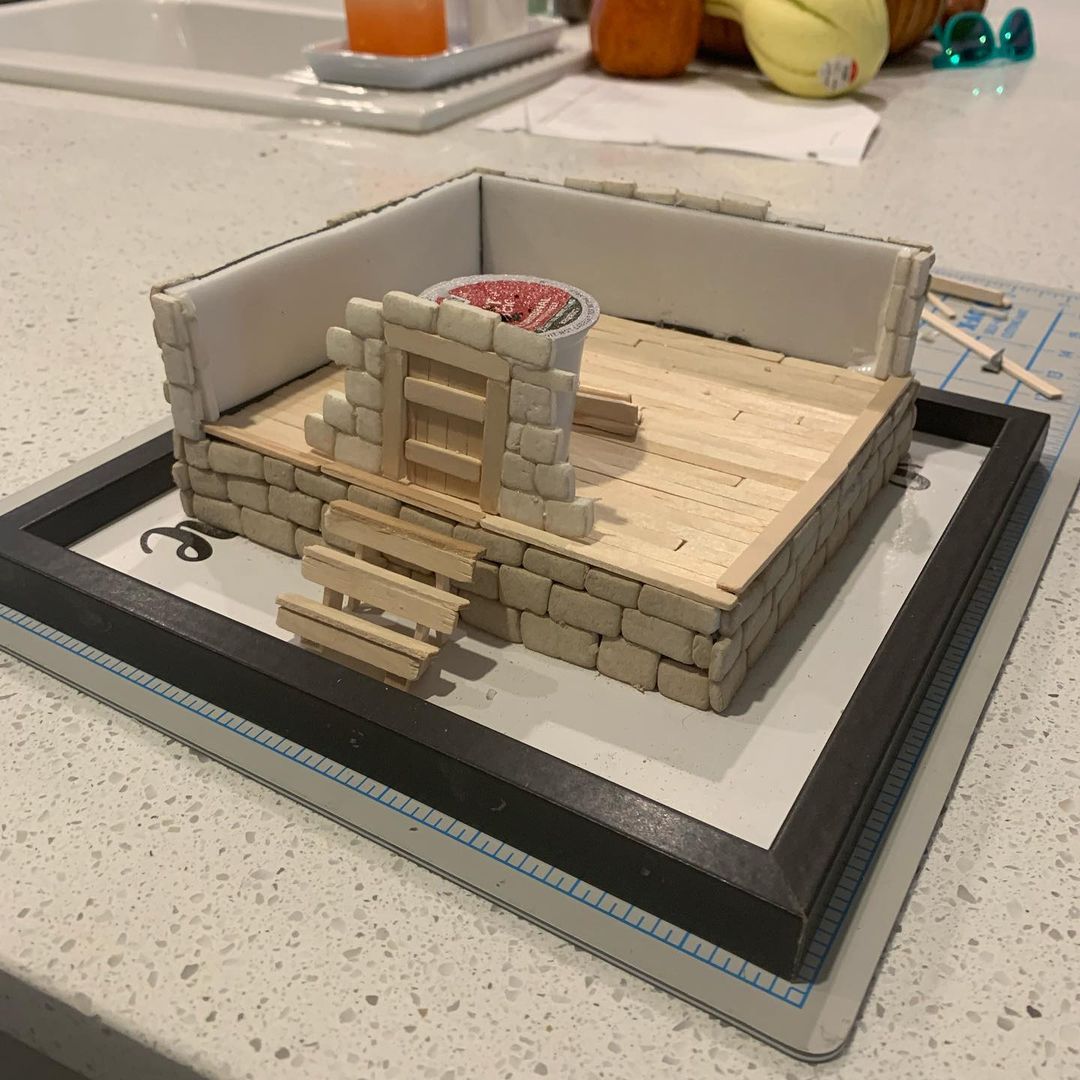
I didn’t want to spend a lot of money on yet another hobby, so I worked mostly with scrappy materials and trash. The bricks were made from dollar store black foam board. I tore off the paper and cut out my bricks.
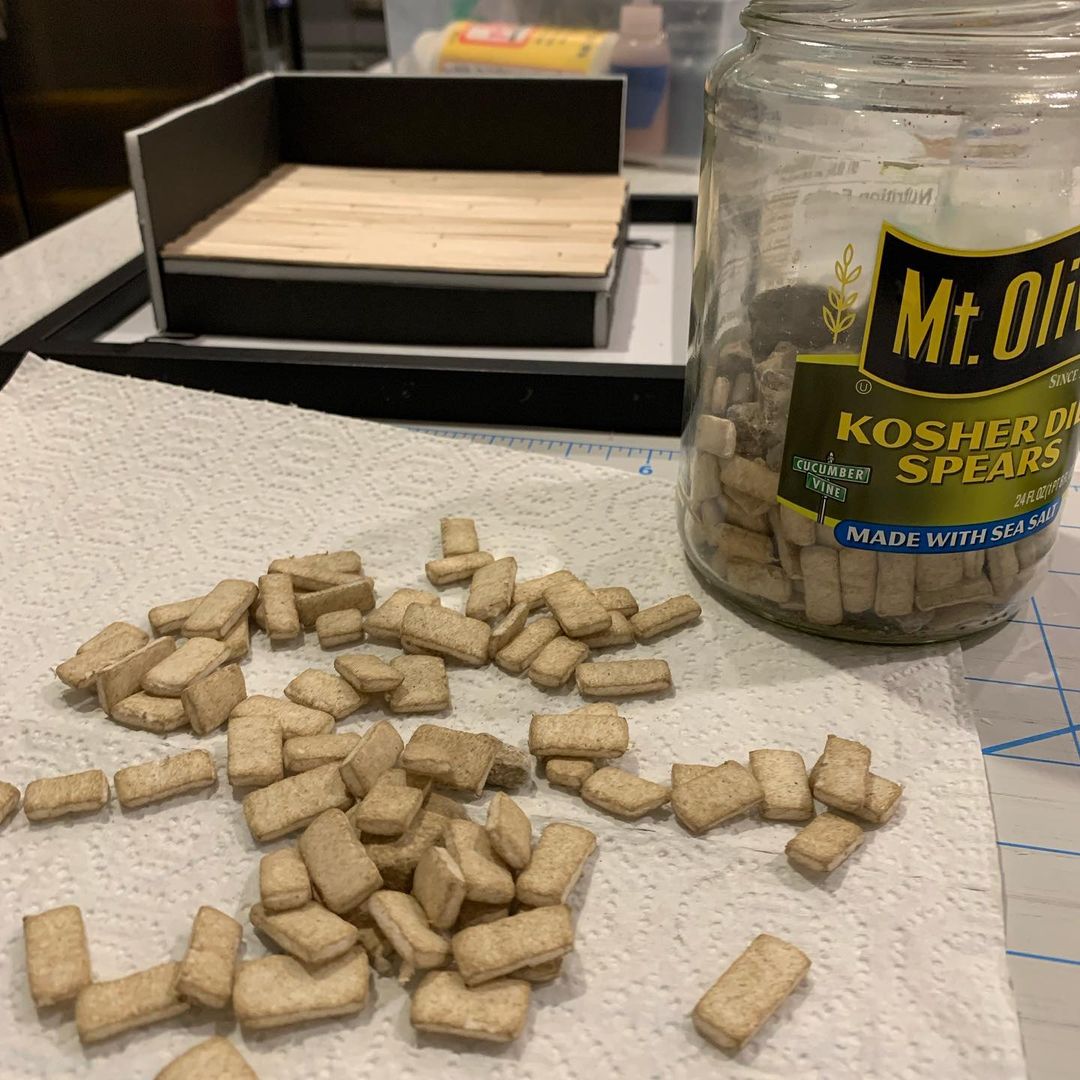
I put the bricks into a pickle jar with some gravel I got from the back yard to weather them. It turns out the gravel wasn’t very clean, and the pickle jar still smelled like pickles. The bricks came out decidedly more… pickley. It took a lot of shaking to get the right level of weathering. It was a loud process that caused some confusion from family members.
For the process of design and construction, I didn’t start with a sketch. I had a picture in my mind of the direction I wanted to go. It was nice to start building immediately. Normally for more complicated sculptures and structures I do a lot more pre-planning. It was freeing to just build.
The floor was built with overly priced craft store popsicle sticks. Later I would order a bulk package of much cheaper sticks online. I attached everything together with PVA glue (white glue).
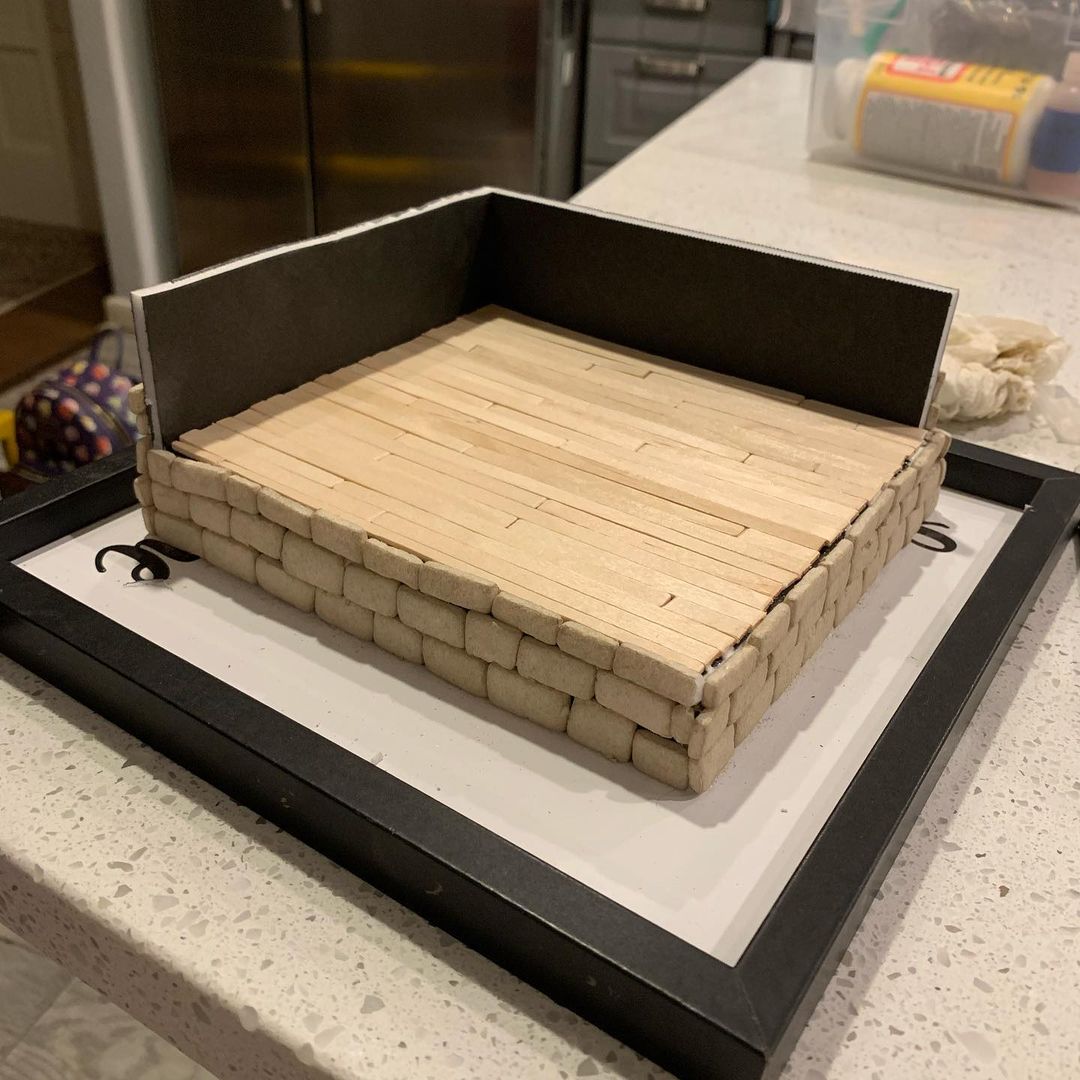
Working with wood is oddly similar at both large scale, and in miniature.
The Furniture
Any good tavern needs furniture.
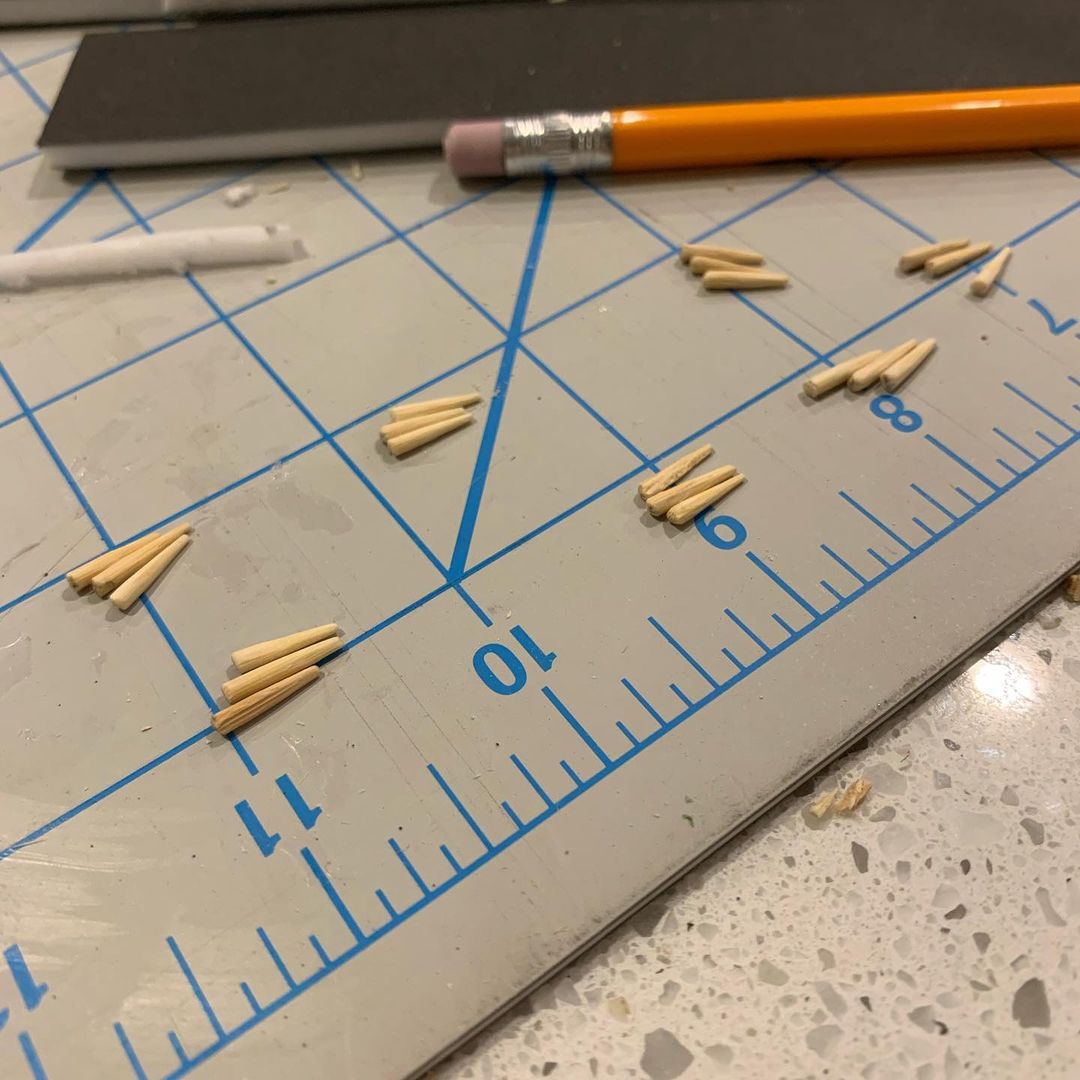
The legs were made from toothpicks.
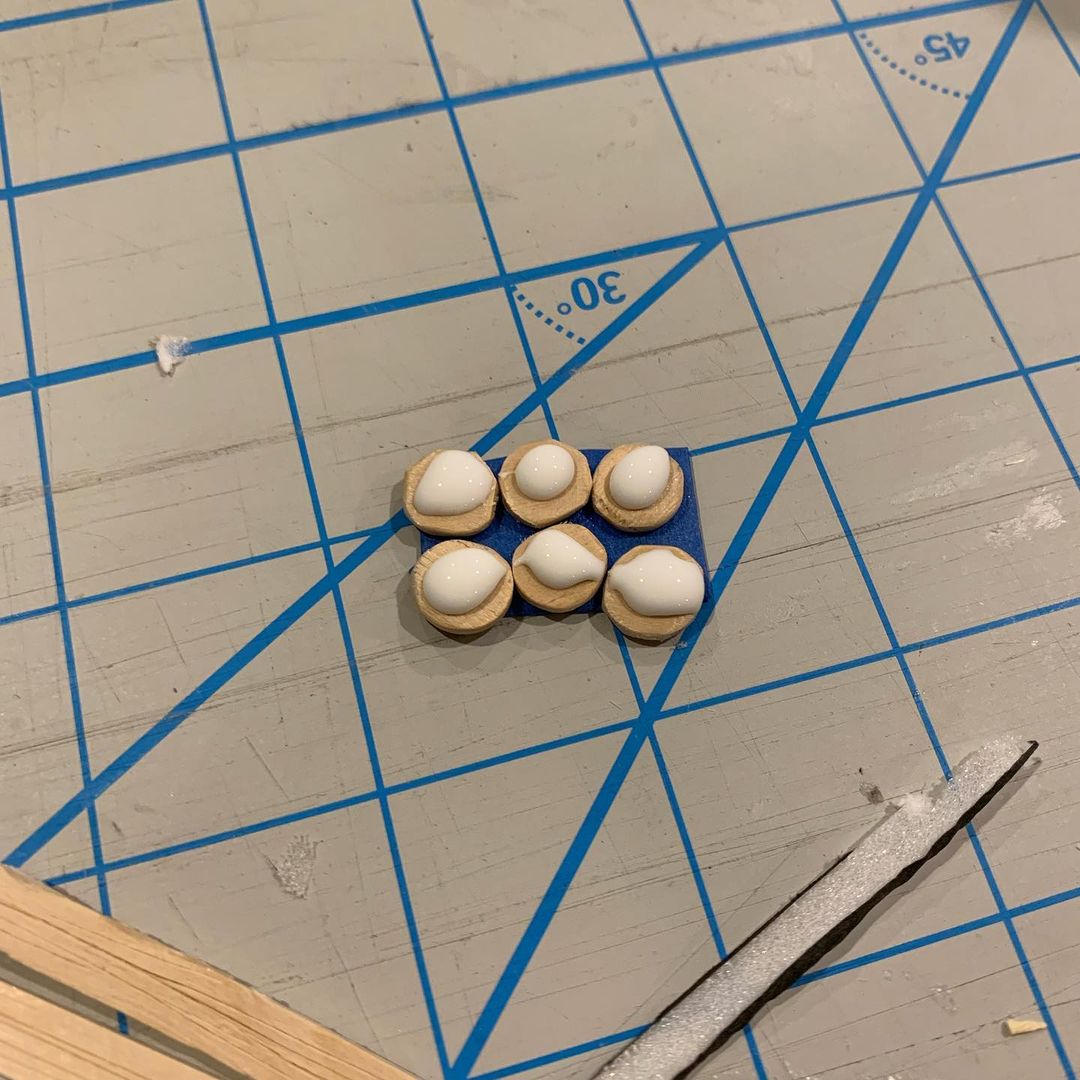
I started with some wider popsicle sticks, clipping them and vaguely rounding them using sand paper. This would have been much easier with hot glue compared to PVA glue.
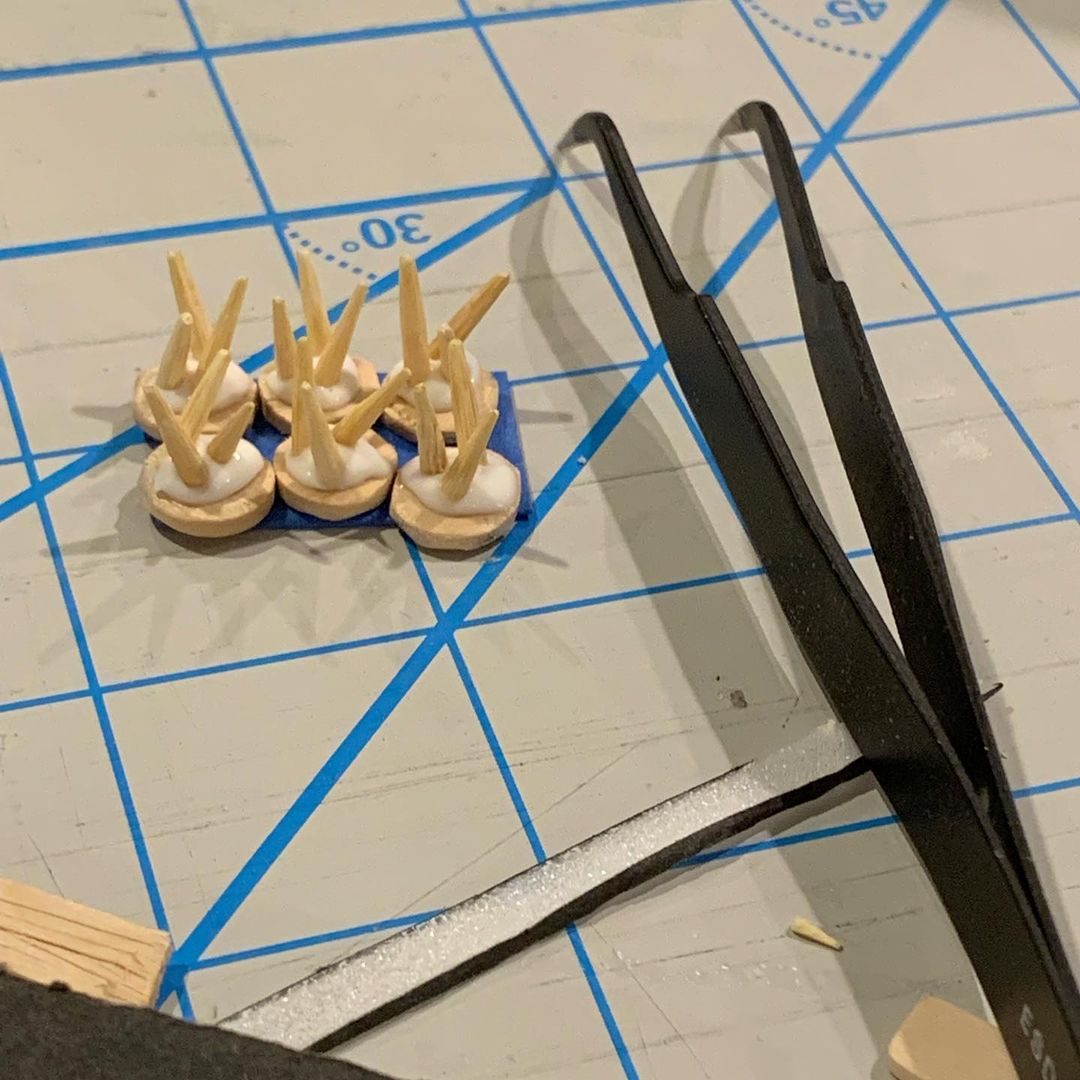
The gluing process was… fiddly. I finally settled on putting the glue on, and waiting 5 or 10 minutes before placing the legs. They would still tend to fall over, and I had to do a lot of adjusting while the glue cured.
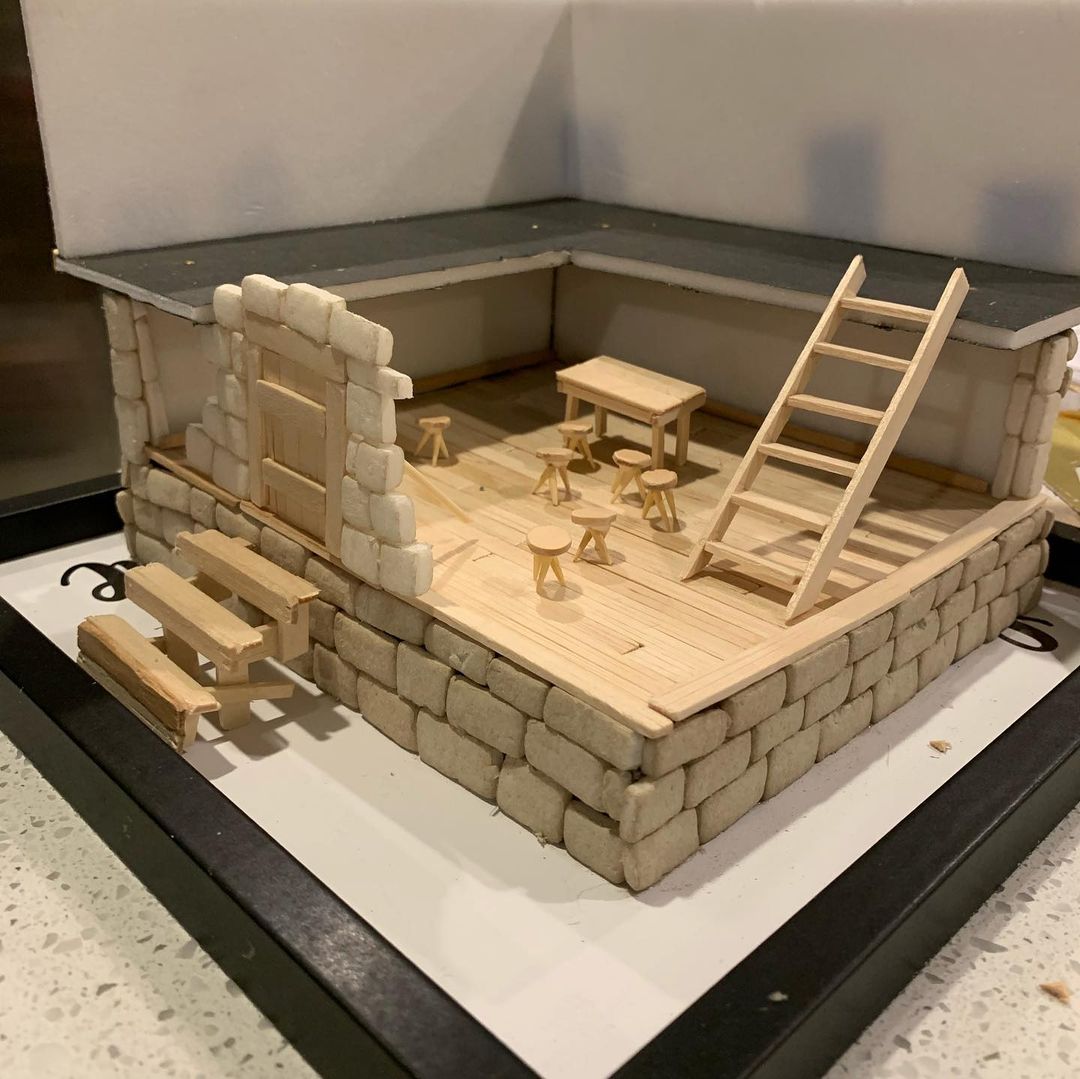
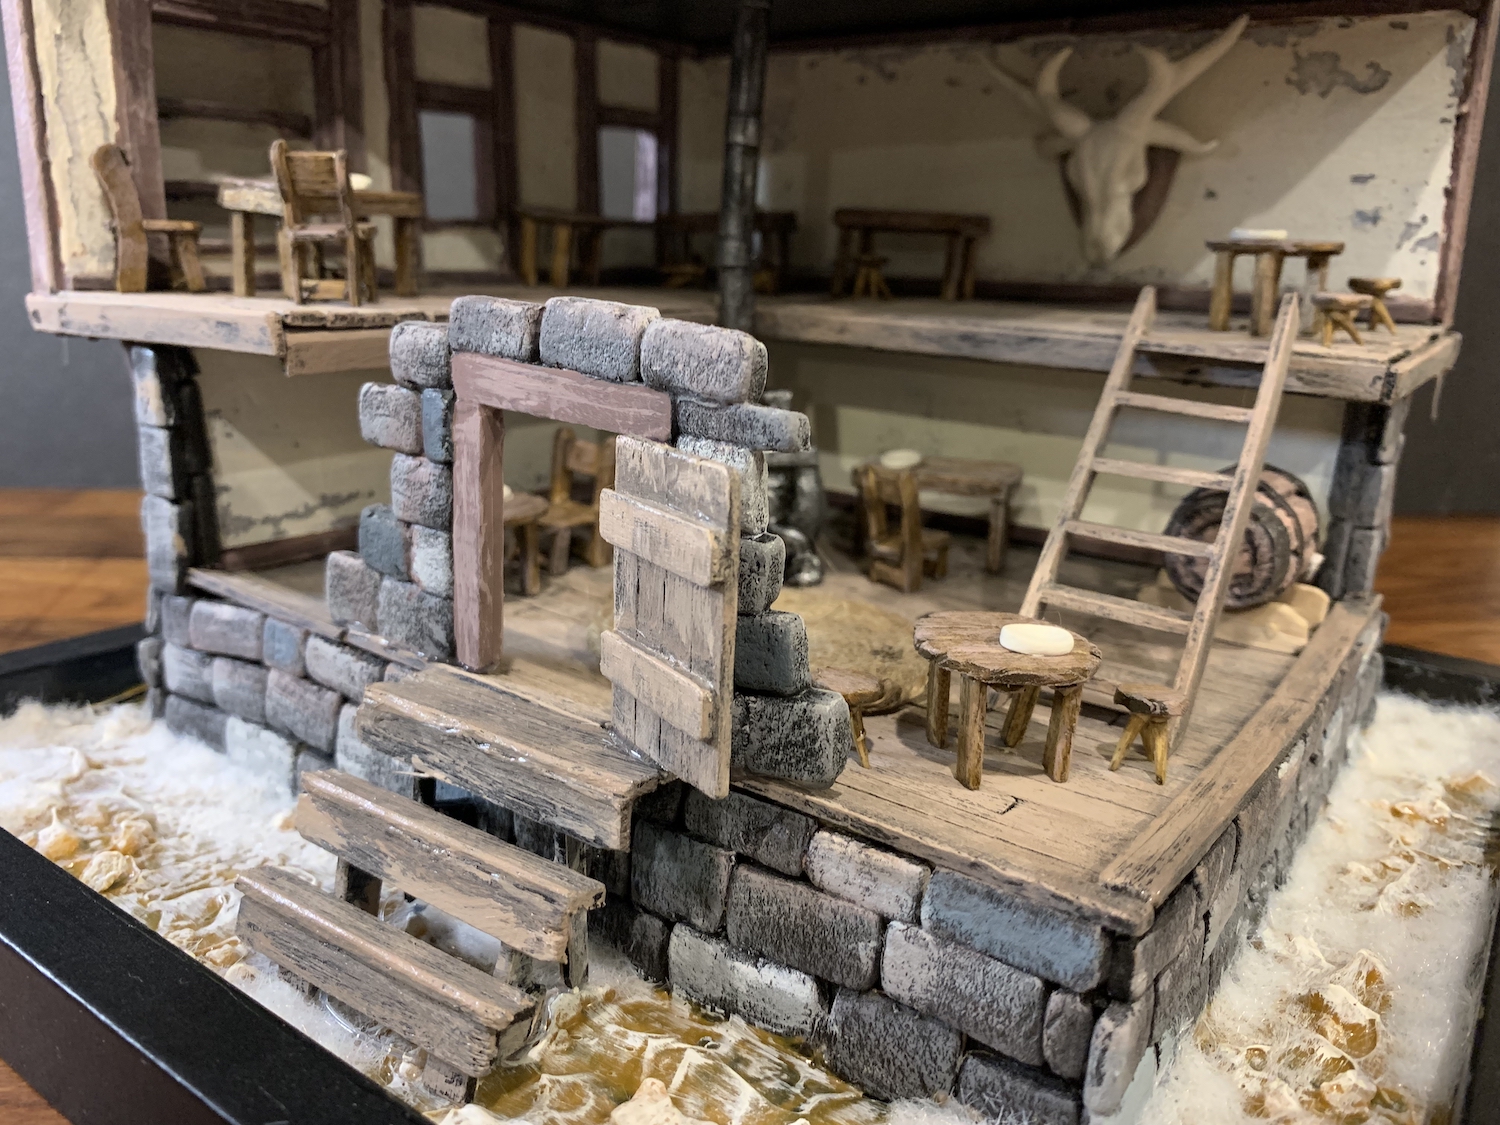
This was an early test of the furniture in place. The second level I built with the idea that the tavern was constructed to cantilever out.
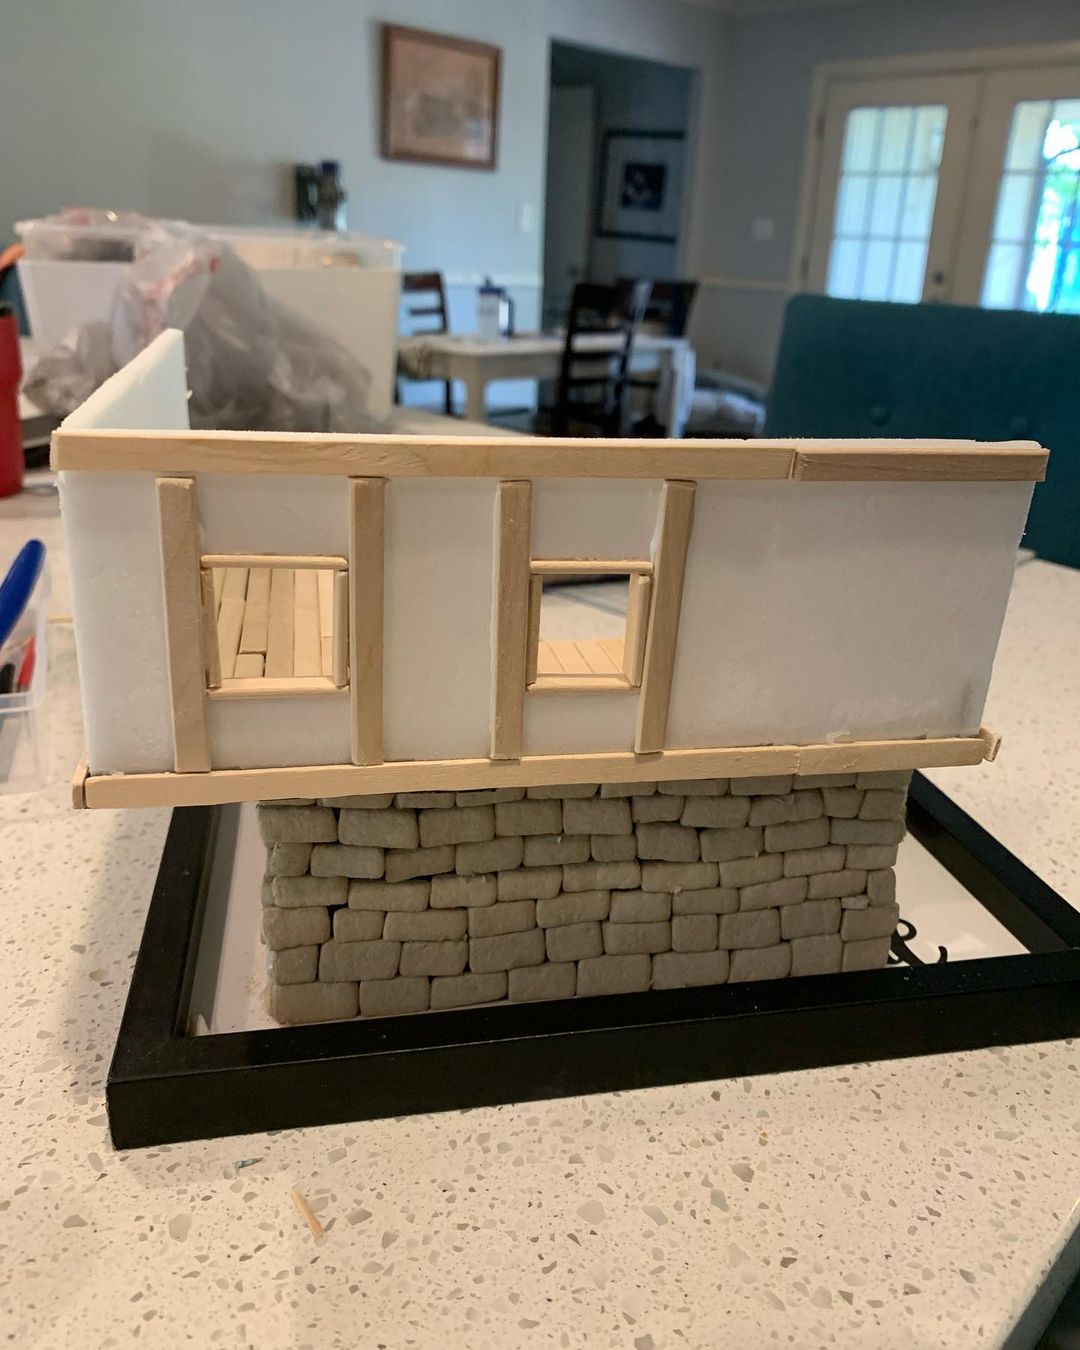
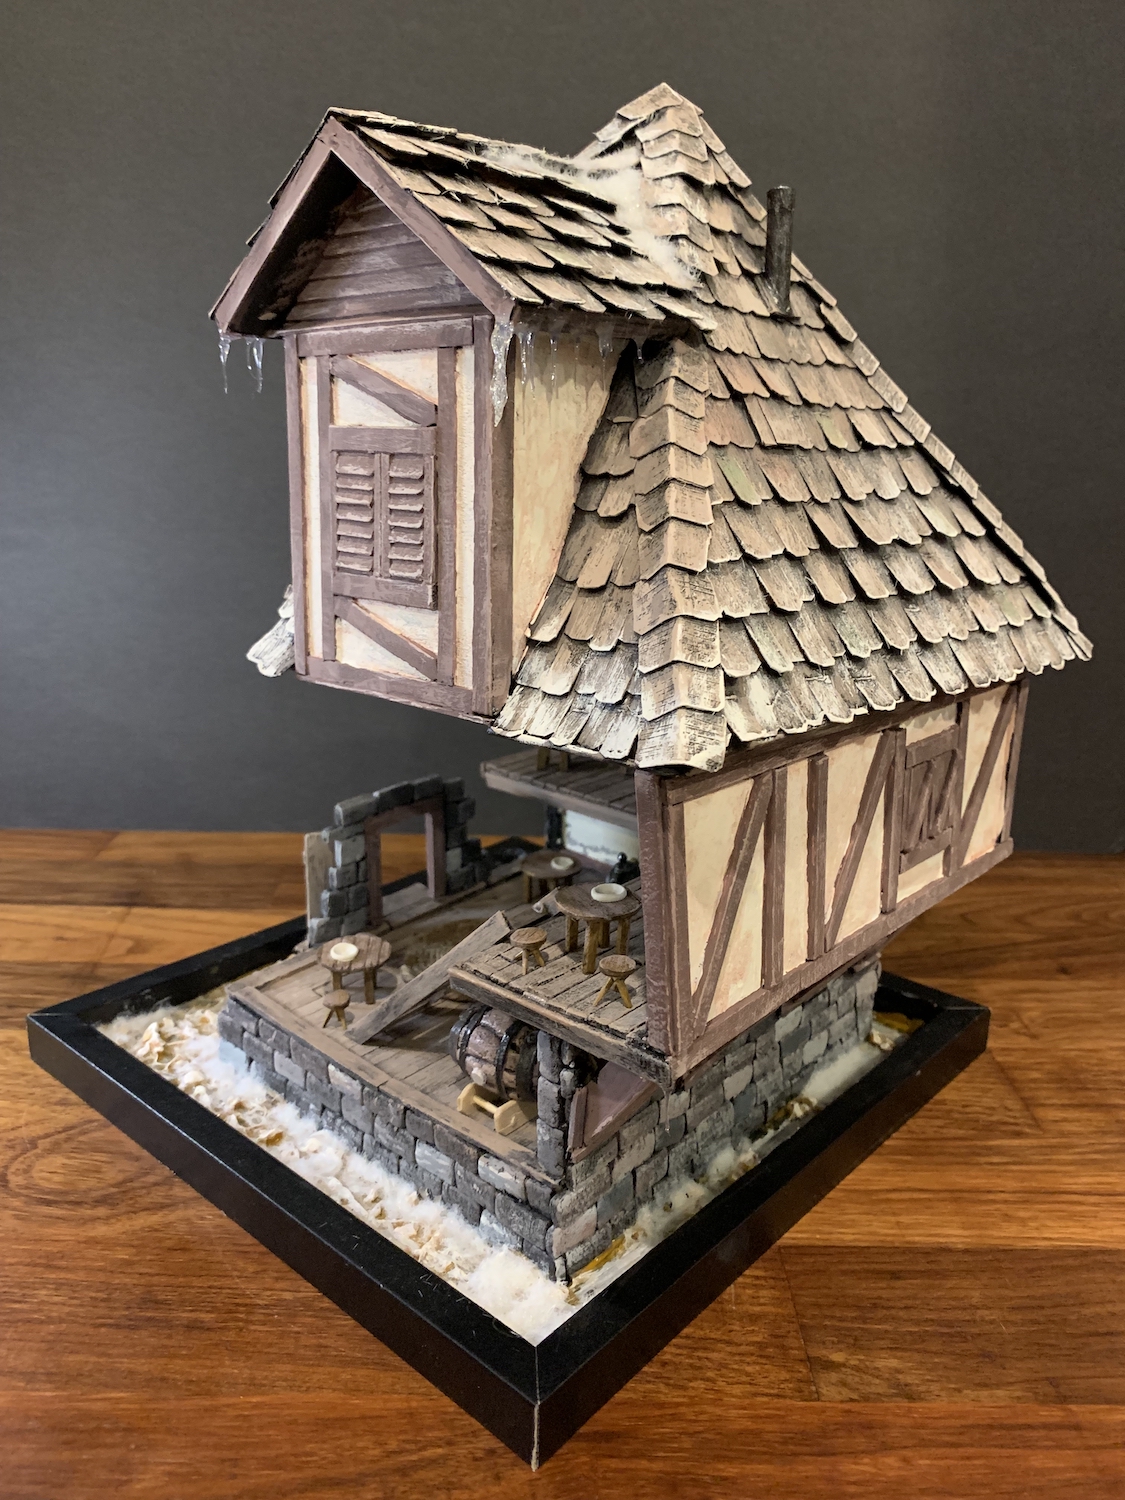
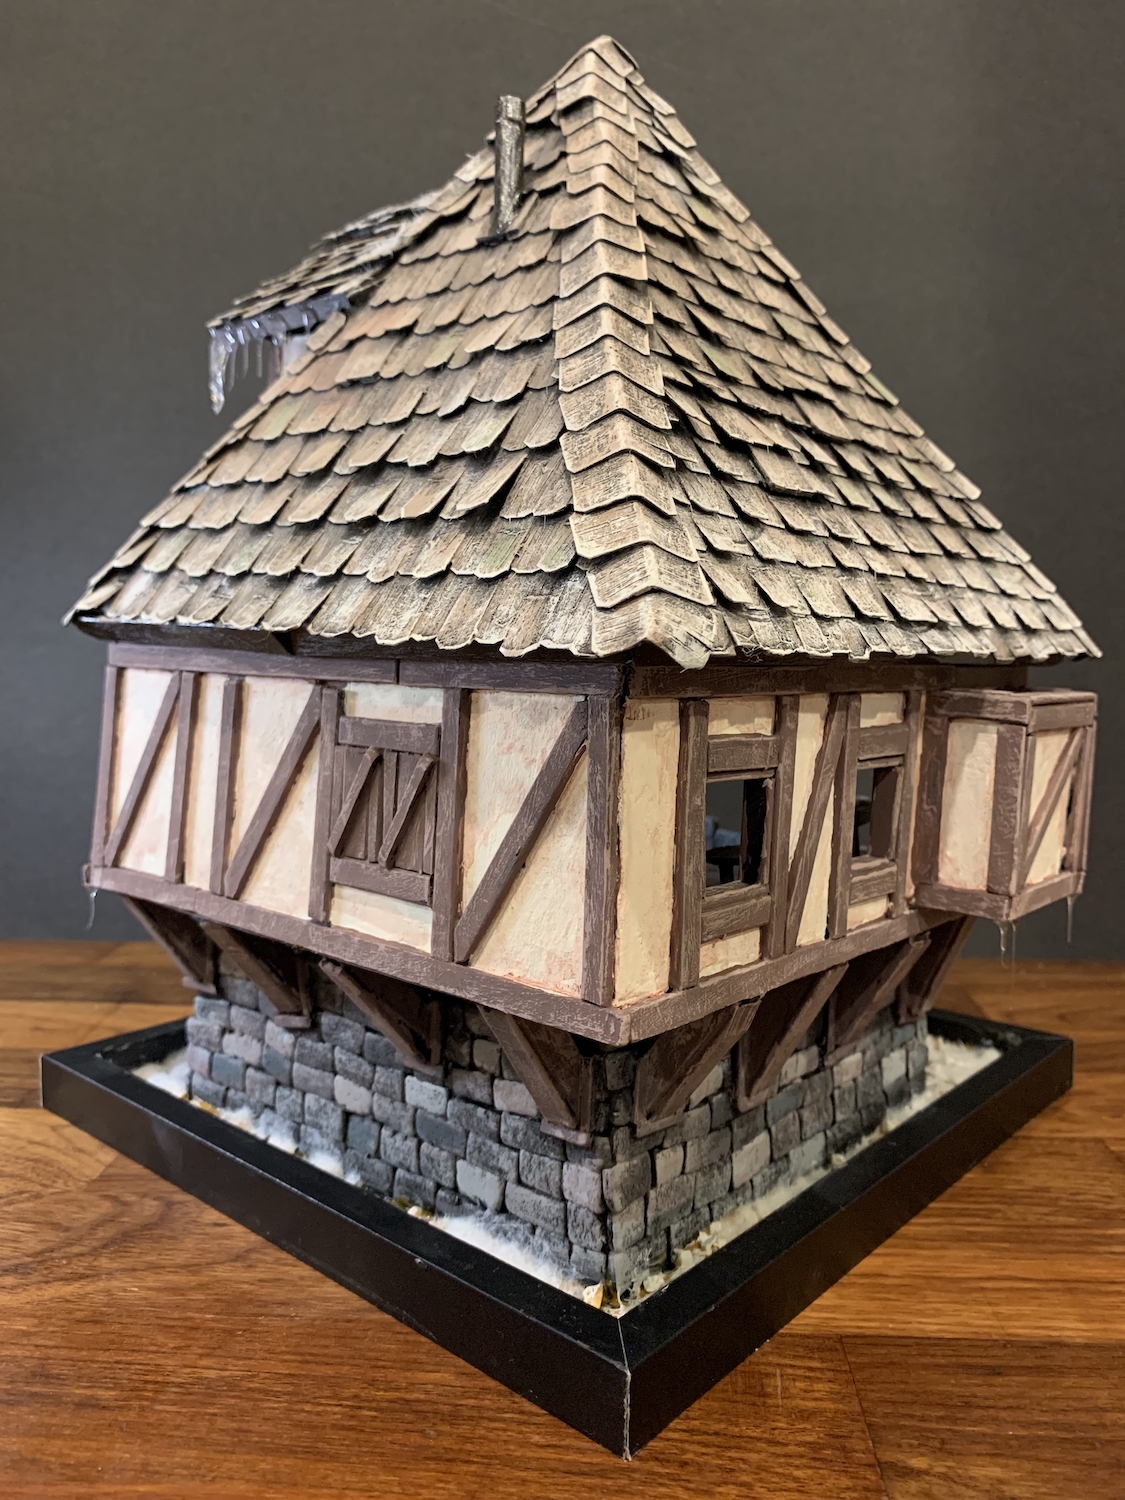
For the second story, I started with a Tudor style house, which is a typical style for fantasy taverns.
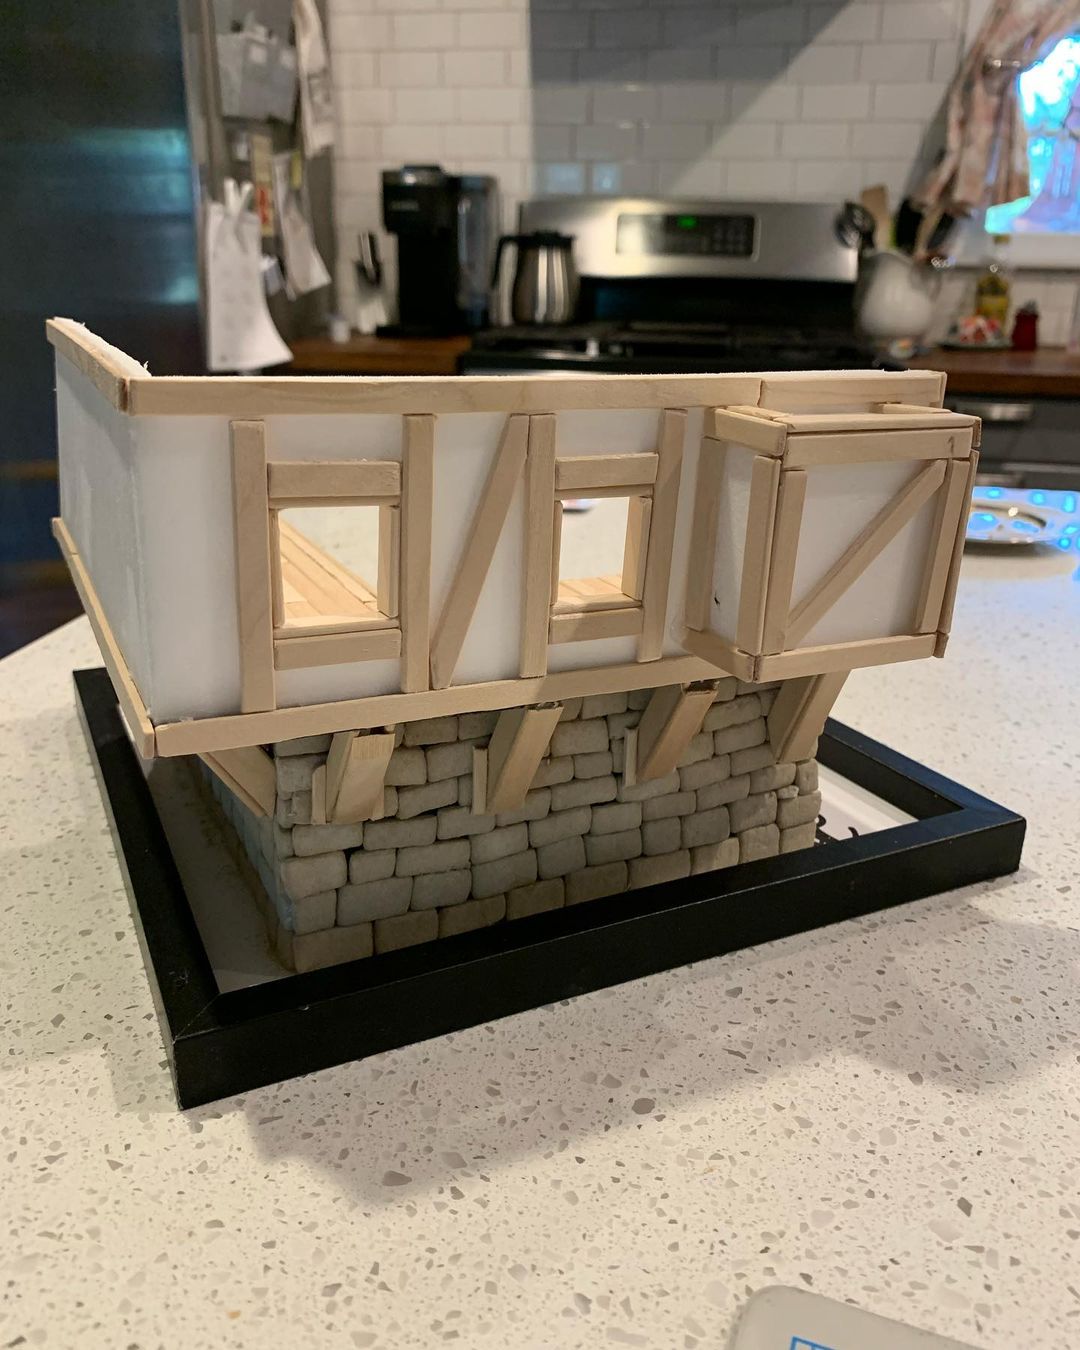
I built a mysterious little structure jutting out as if the tavern needed more space and someone just added on.
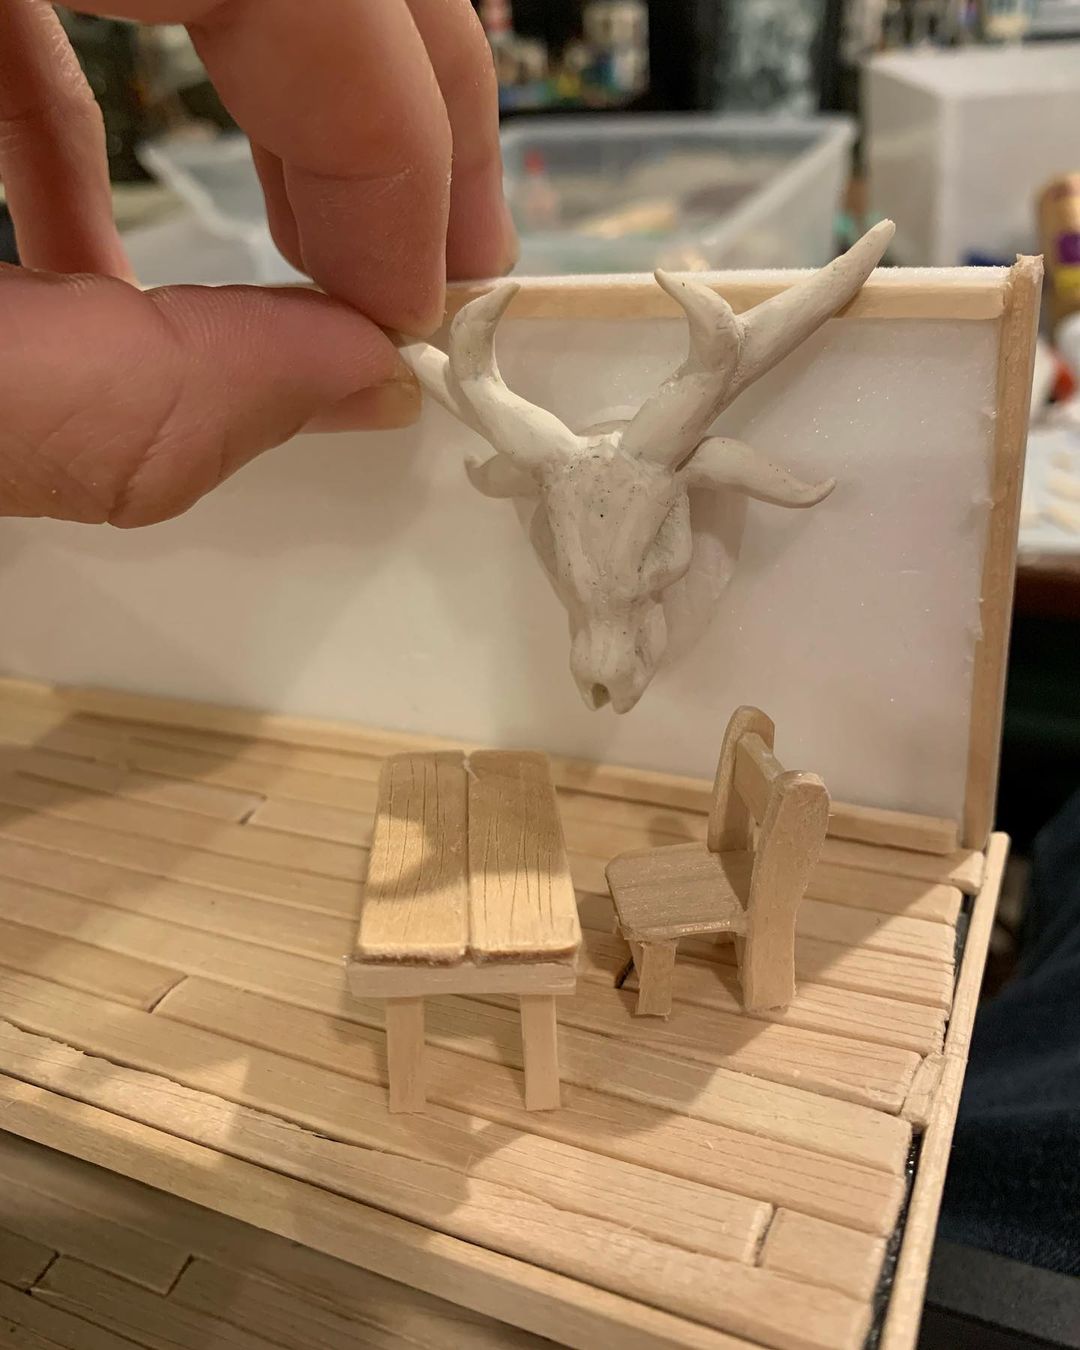
This was my first time to work with polymer clay. In “real art” you wouldn’t work with it since it’s not a fine art material. It’s actually a lovely medium that I would like to do more work with in the future. There are many possibilities in what you can do with it, especially since it is easy to cure by baking it in the oven.
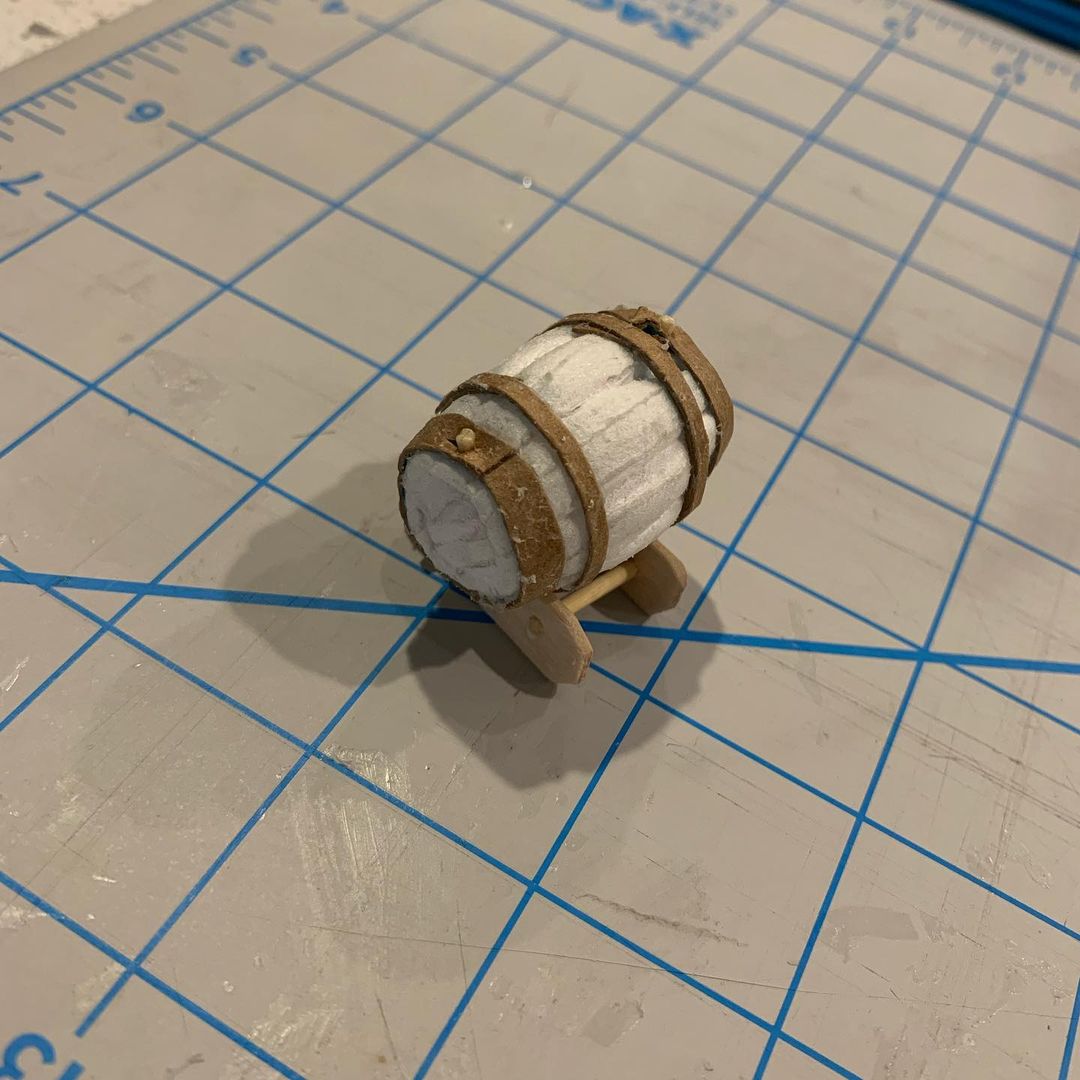
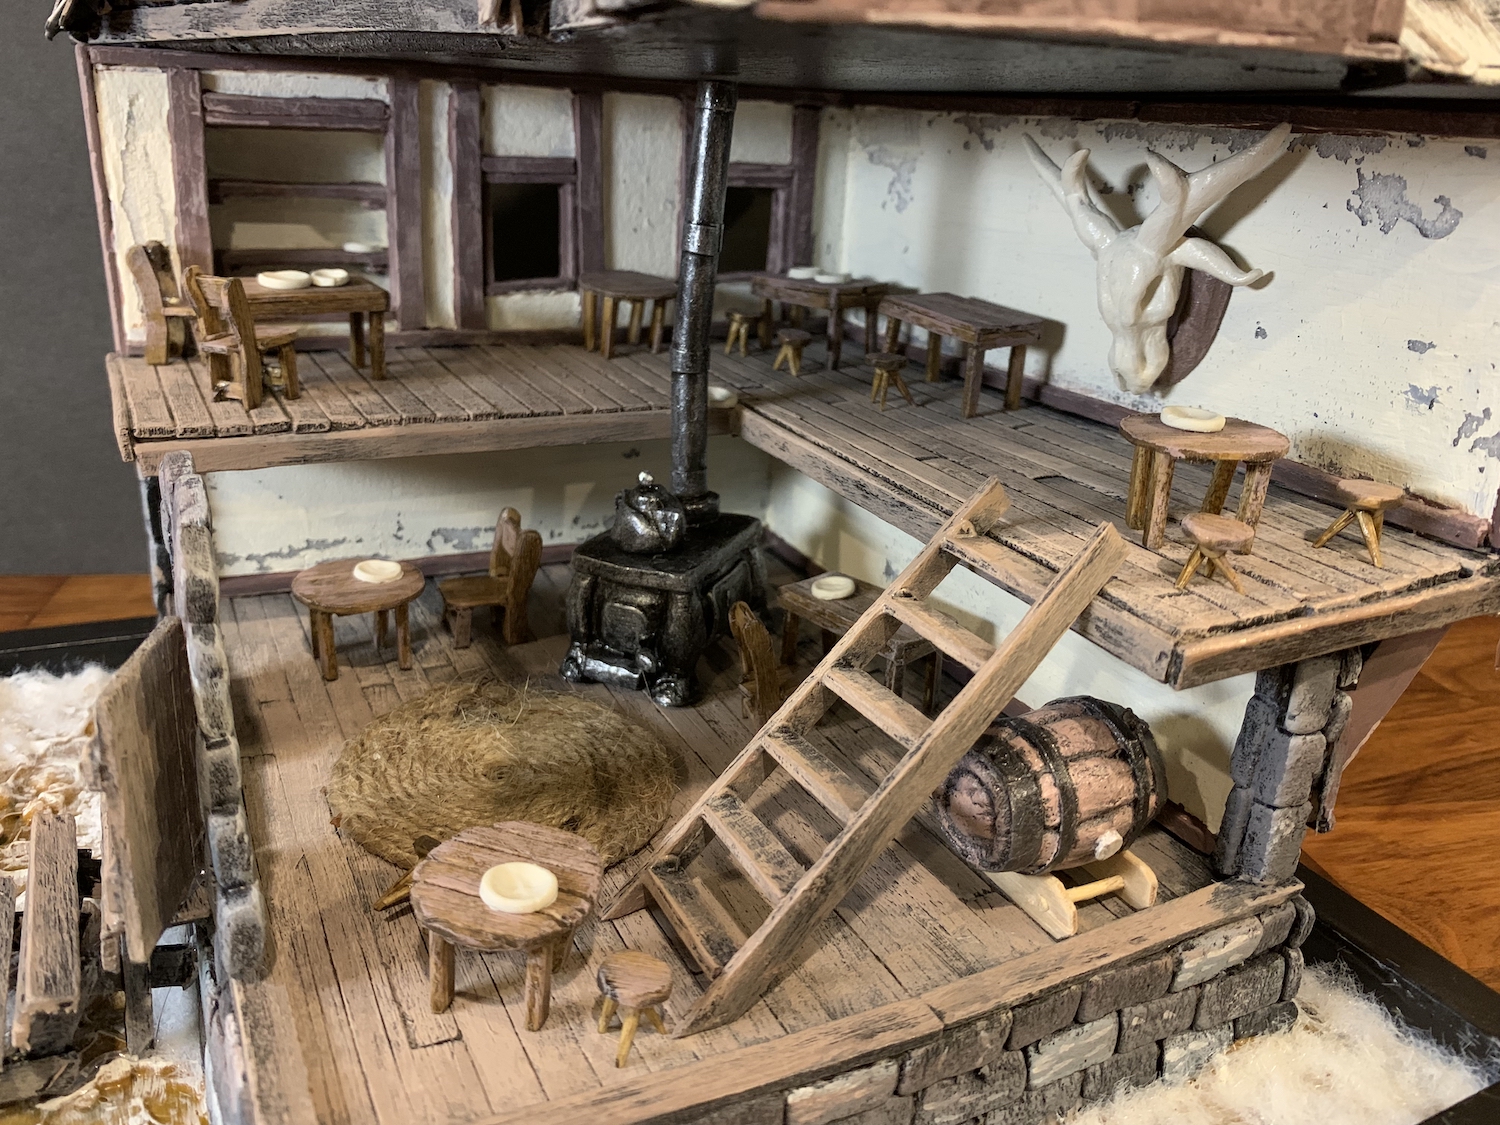
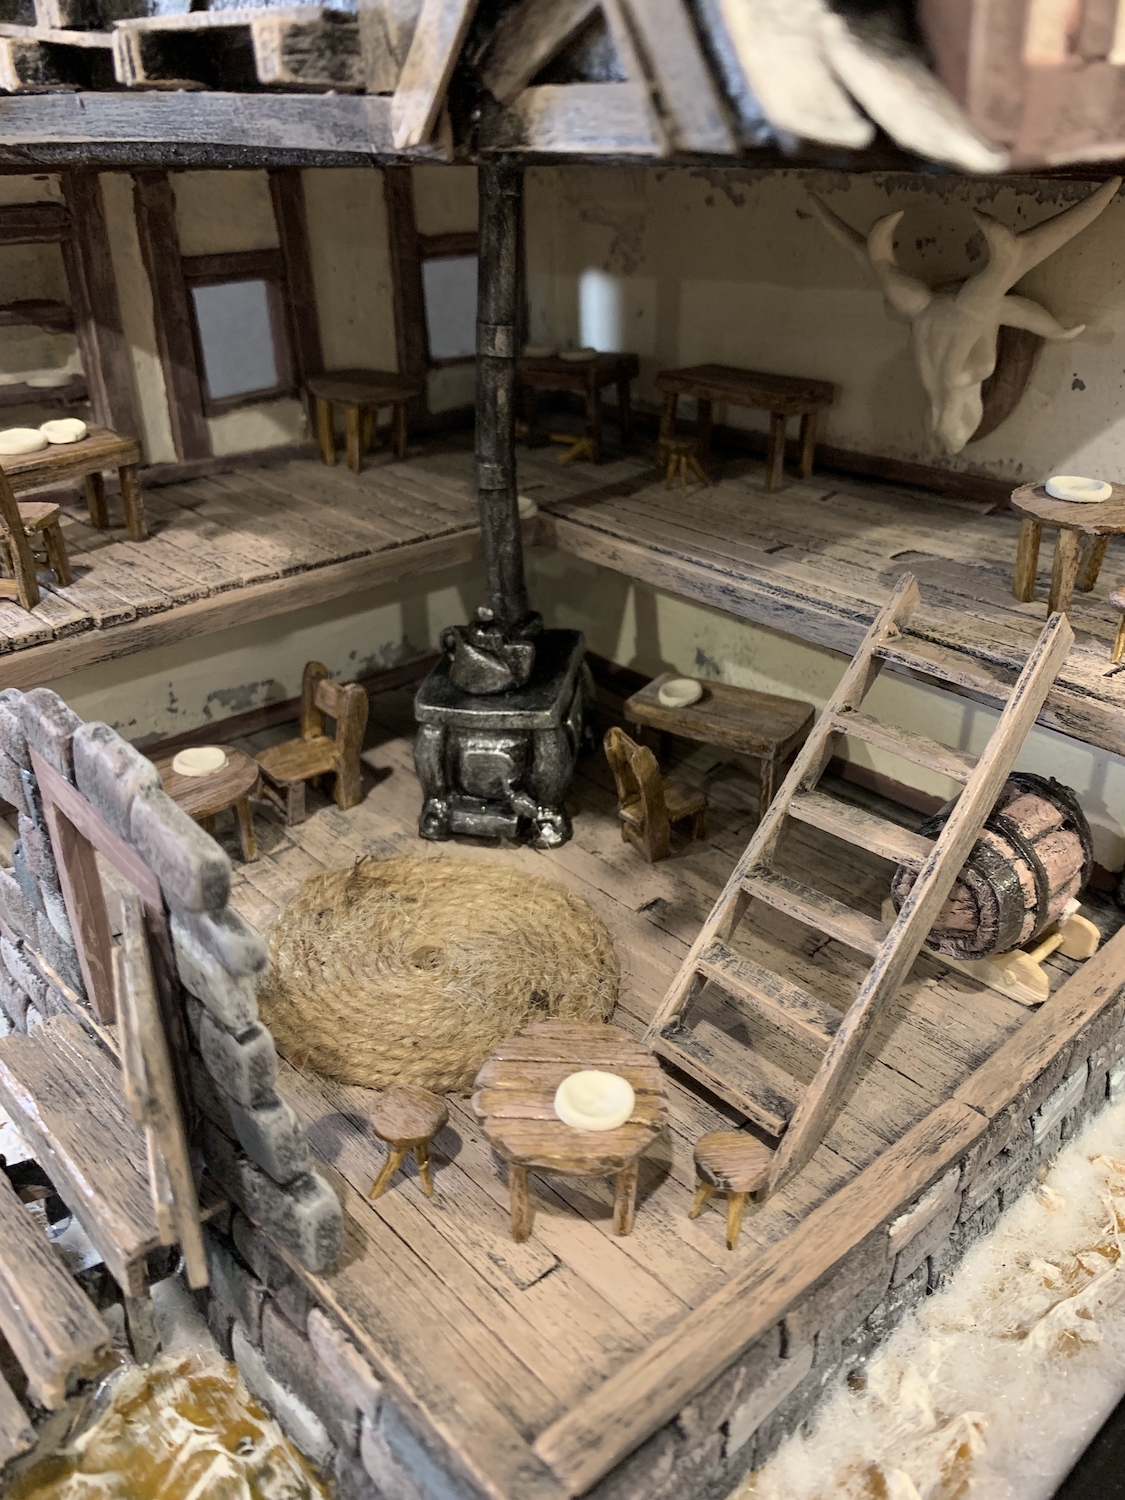
I built a miniature keg by layering and gluing the foam board together. I did a bit of free form carving and shaping for the final form. It looked a bit wobbly but really came together with the “iron” bands I built from packaging trash.
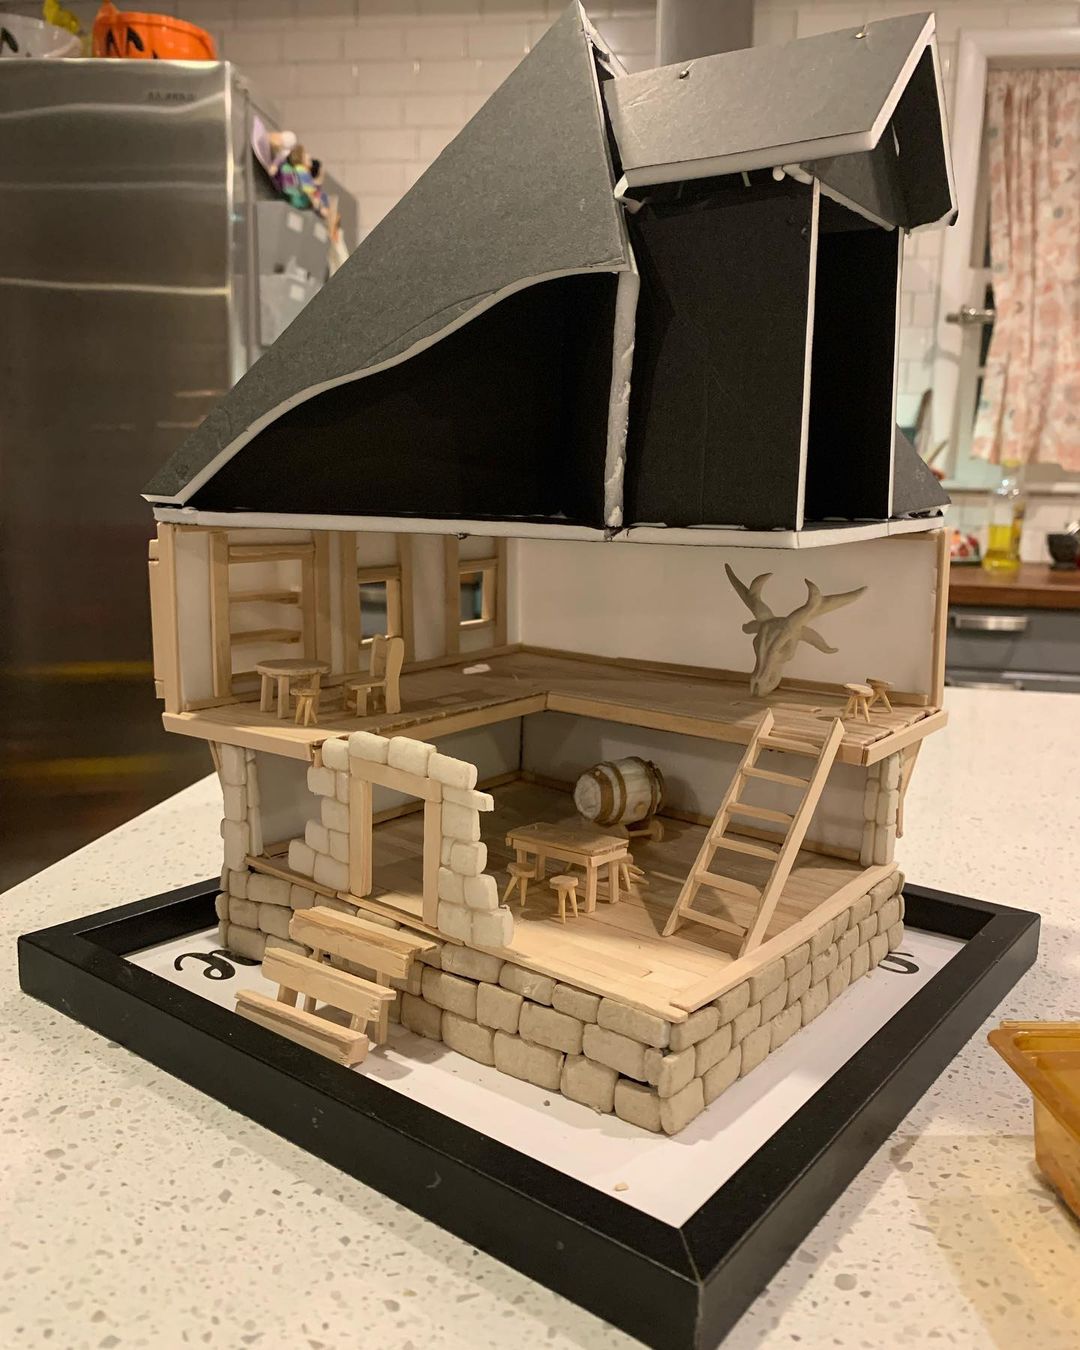
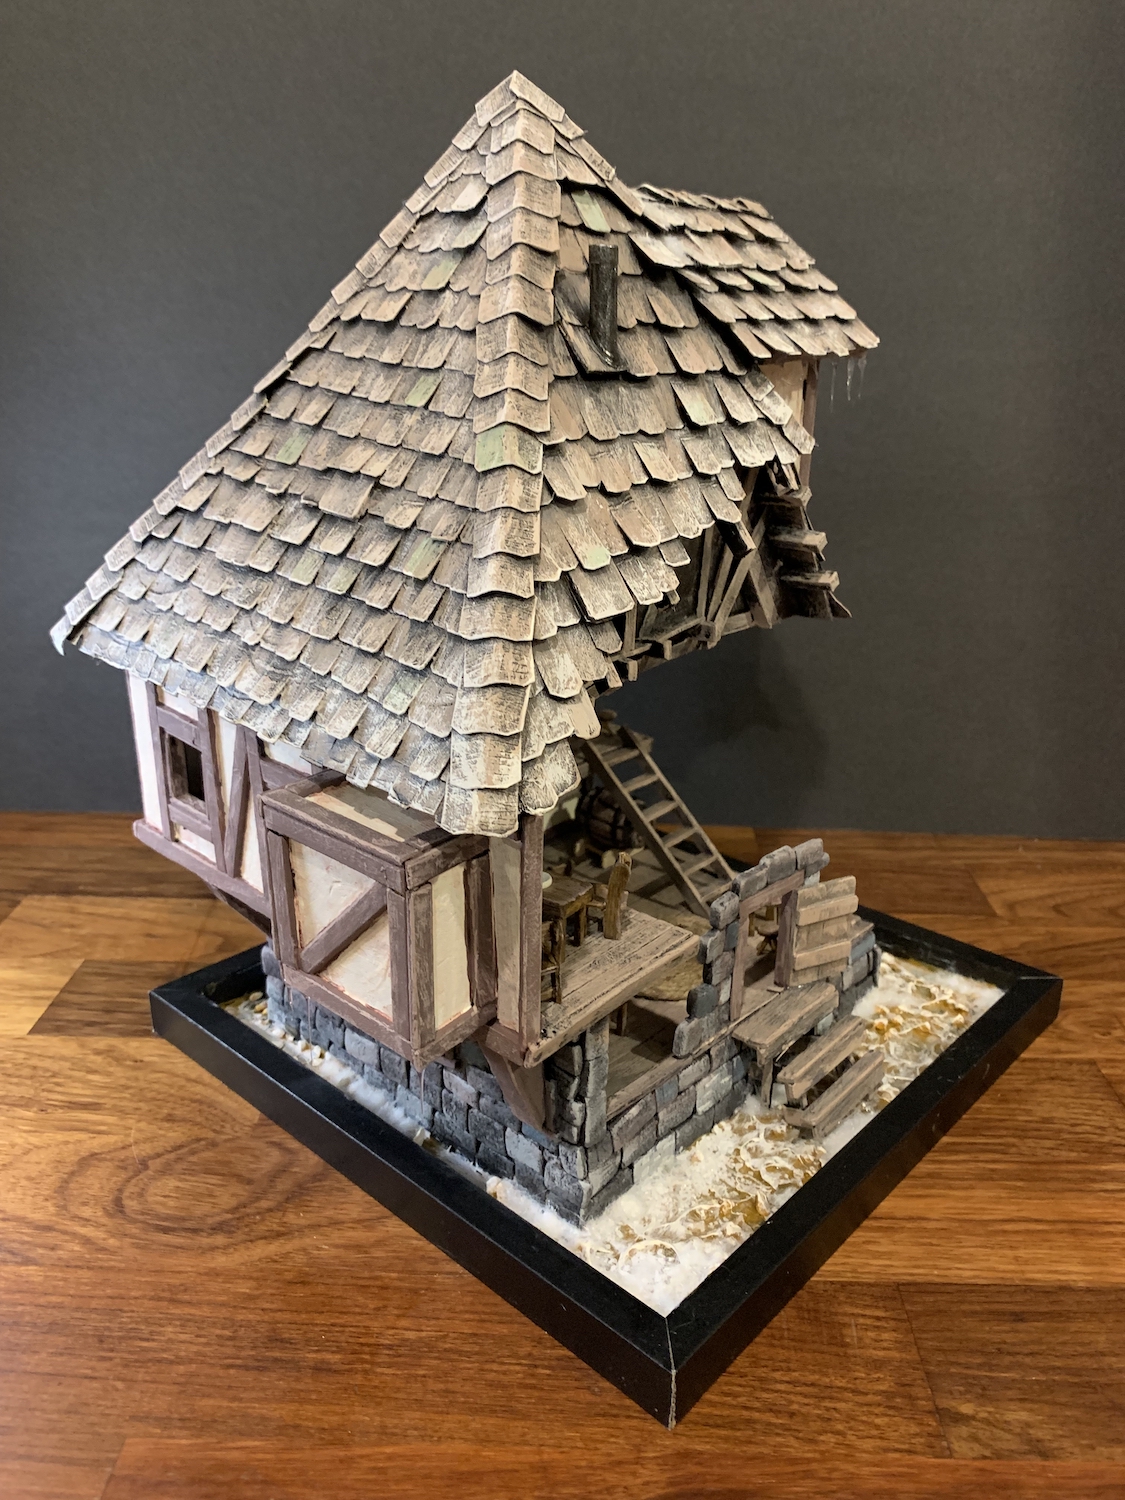
The roof ended up being a bit of a surprising discovery when I finally built it. It added the overall shape and character that the miniature really needed. I decided to do a cut out so you could easily see into the interior. I almost had scope creep by adding a bedroom, but the project was already taking many, many hours of work. Here you can see the work that had been completed up until now.
One design flaw I didn’t account for was the balance of the top structure, especially as I wanted it removable. I ended up placing a heavy rock in the corner and hot gluing it down for balance. It worked surprisingly well.
A Second Furniture Party
My tavern was feeling a little lonely, so I decided to have a second furniture party and build more things to occupy the space.
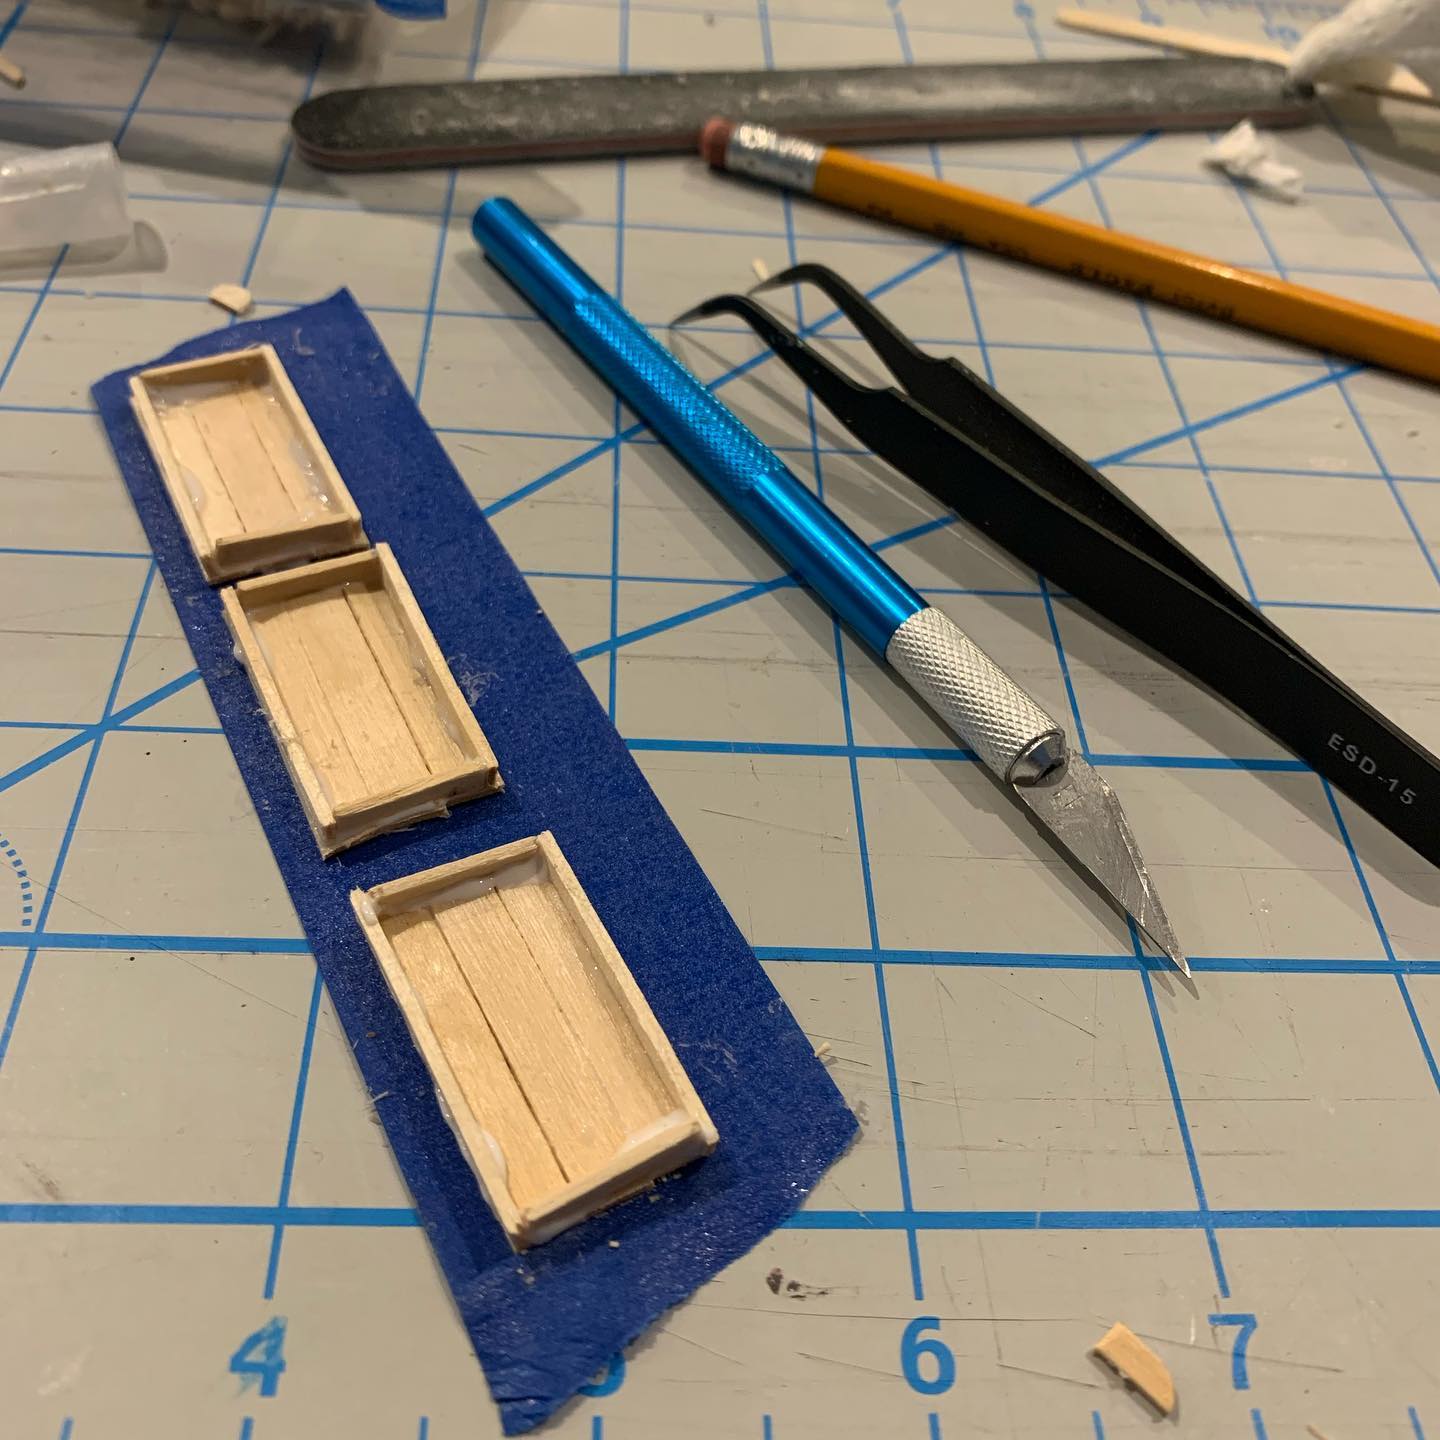
I found putting some tape upside down for the pieces made things more stable and easier to assemble and glue.
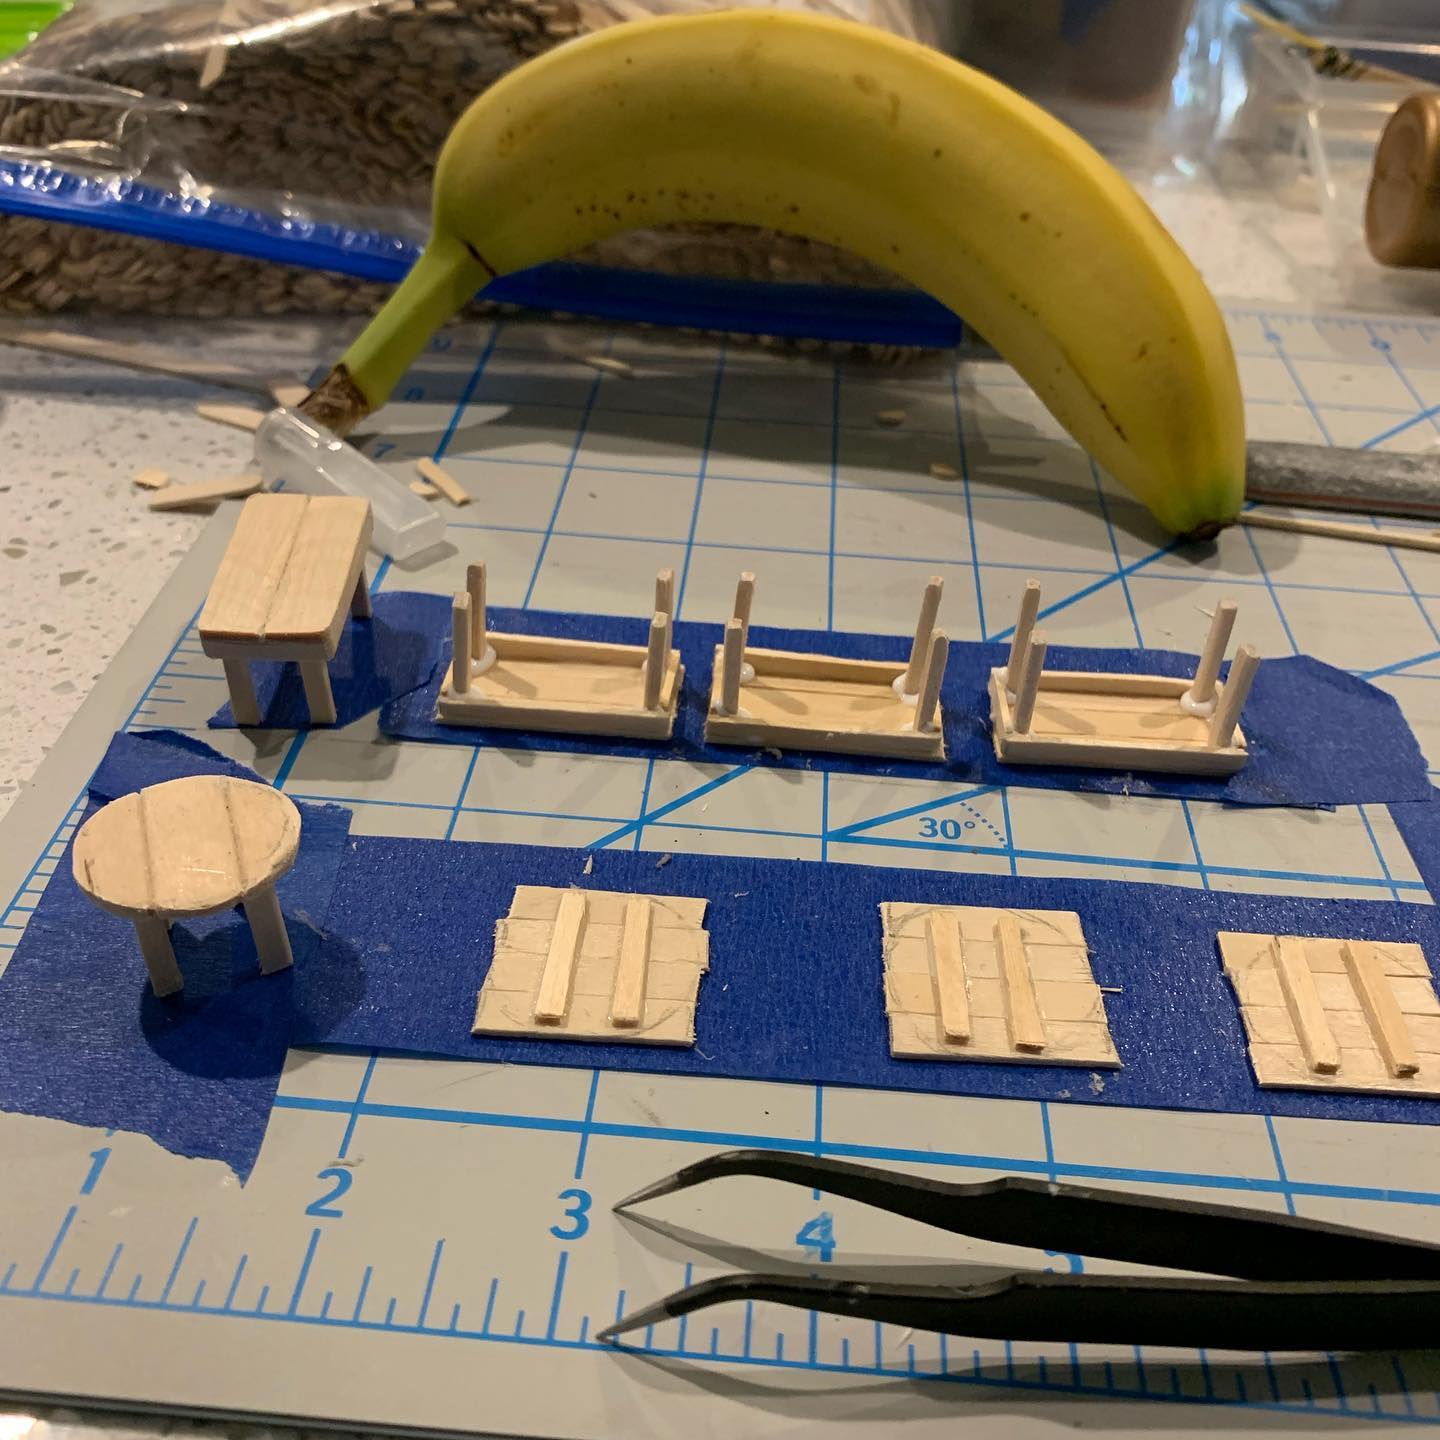
I tried to batch the process more as it made it go by much more swiftly. Banana for scale.
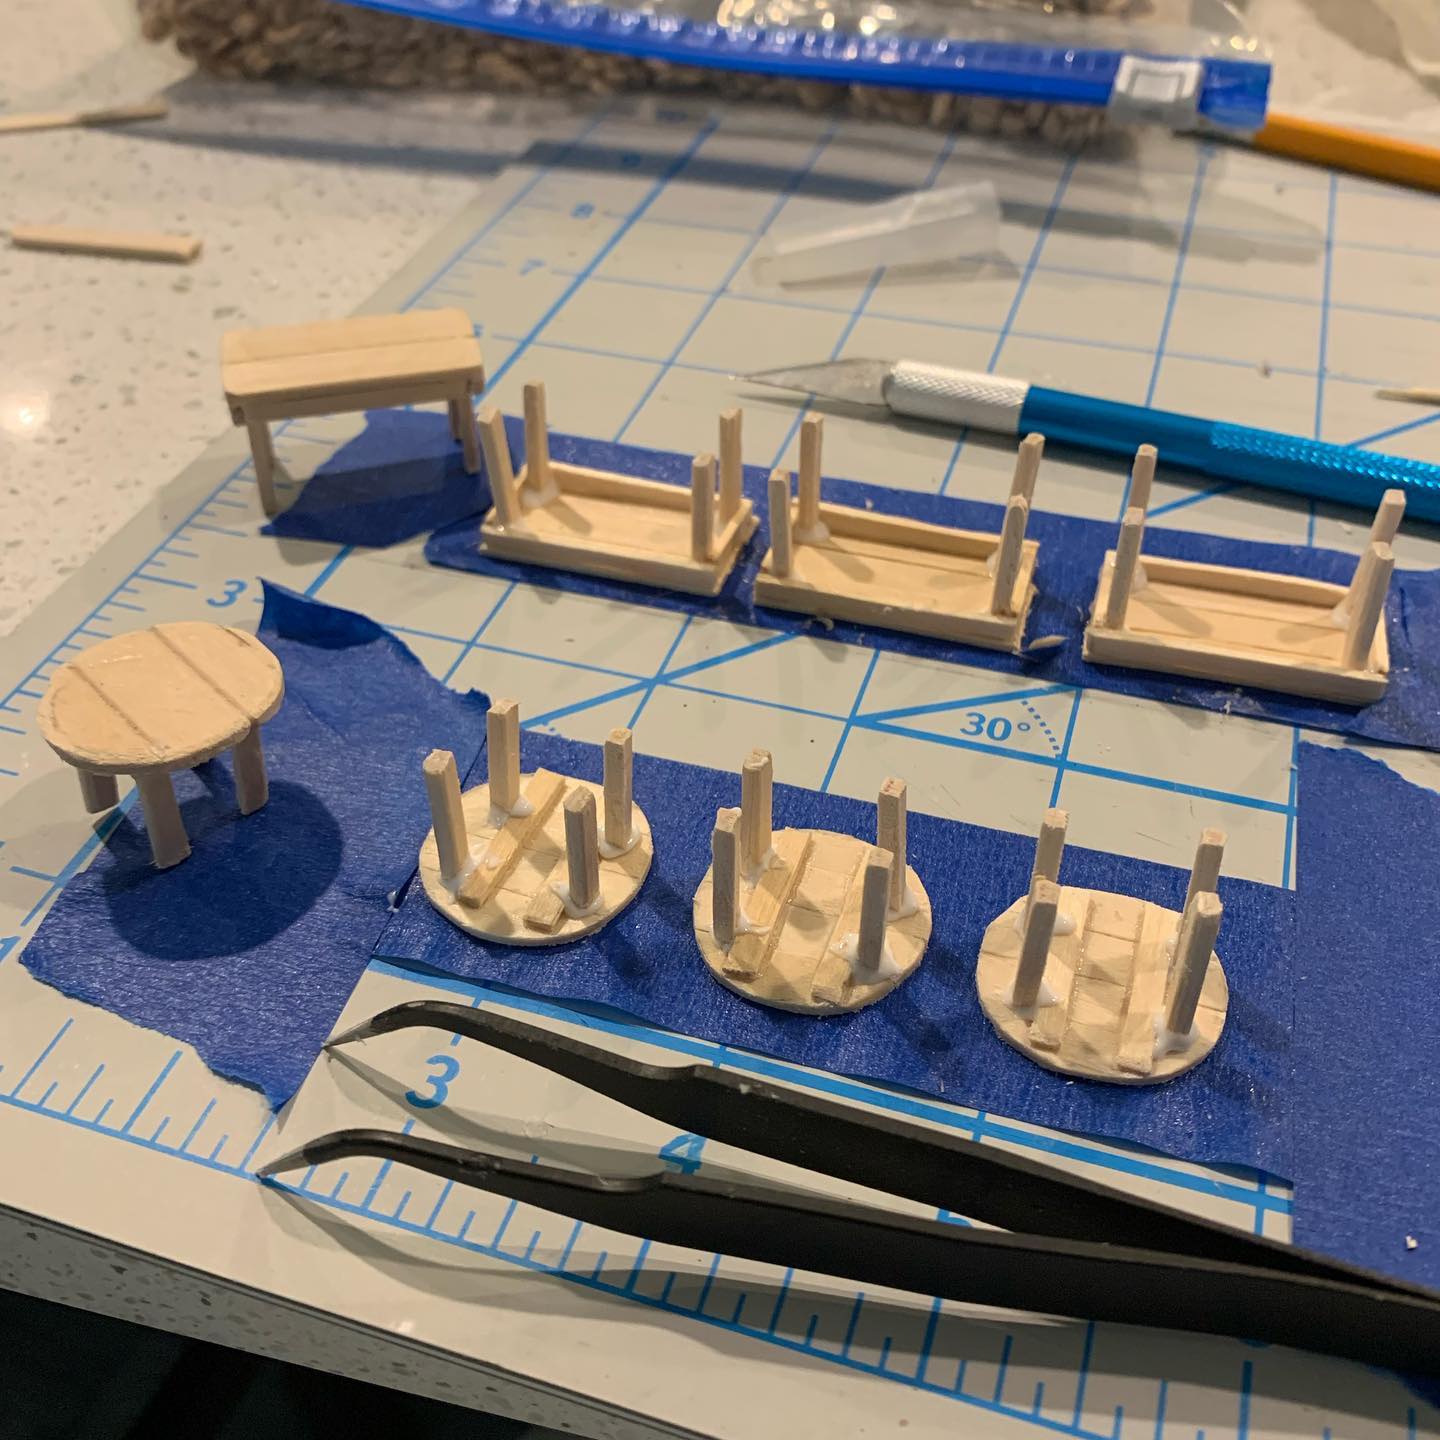
The process for gluing the legs was considerably better than the stools. I got my cure time down better for the glue, and only needed minor leg adjustments. Working with miniature wood is very similar in process and feel to full sized wood. The tools are just a lot smaller and you can work much faster.
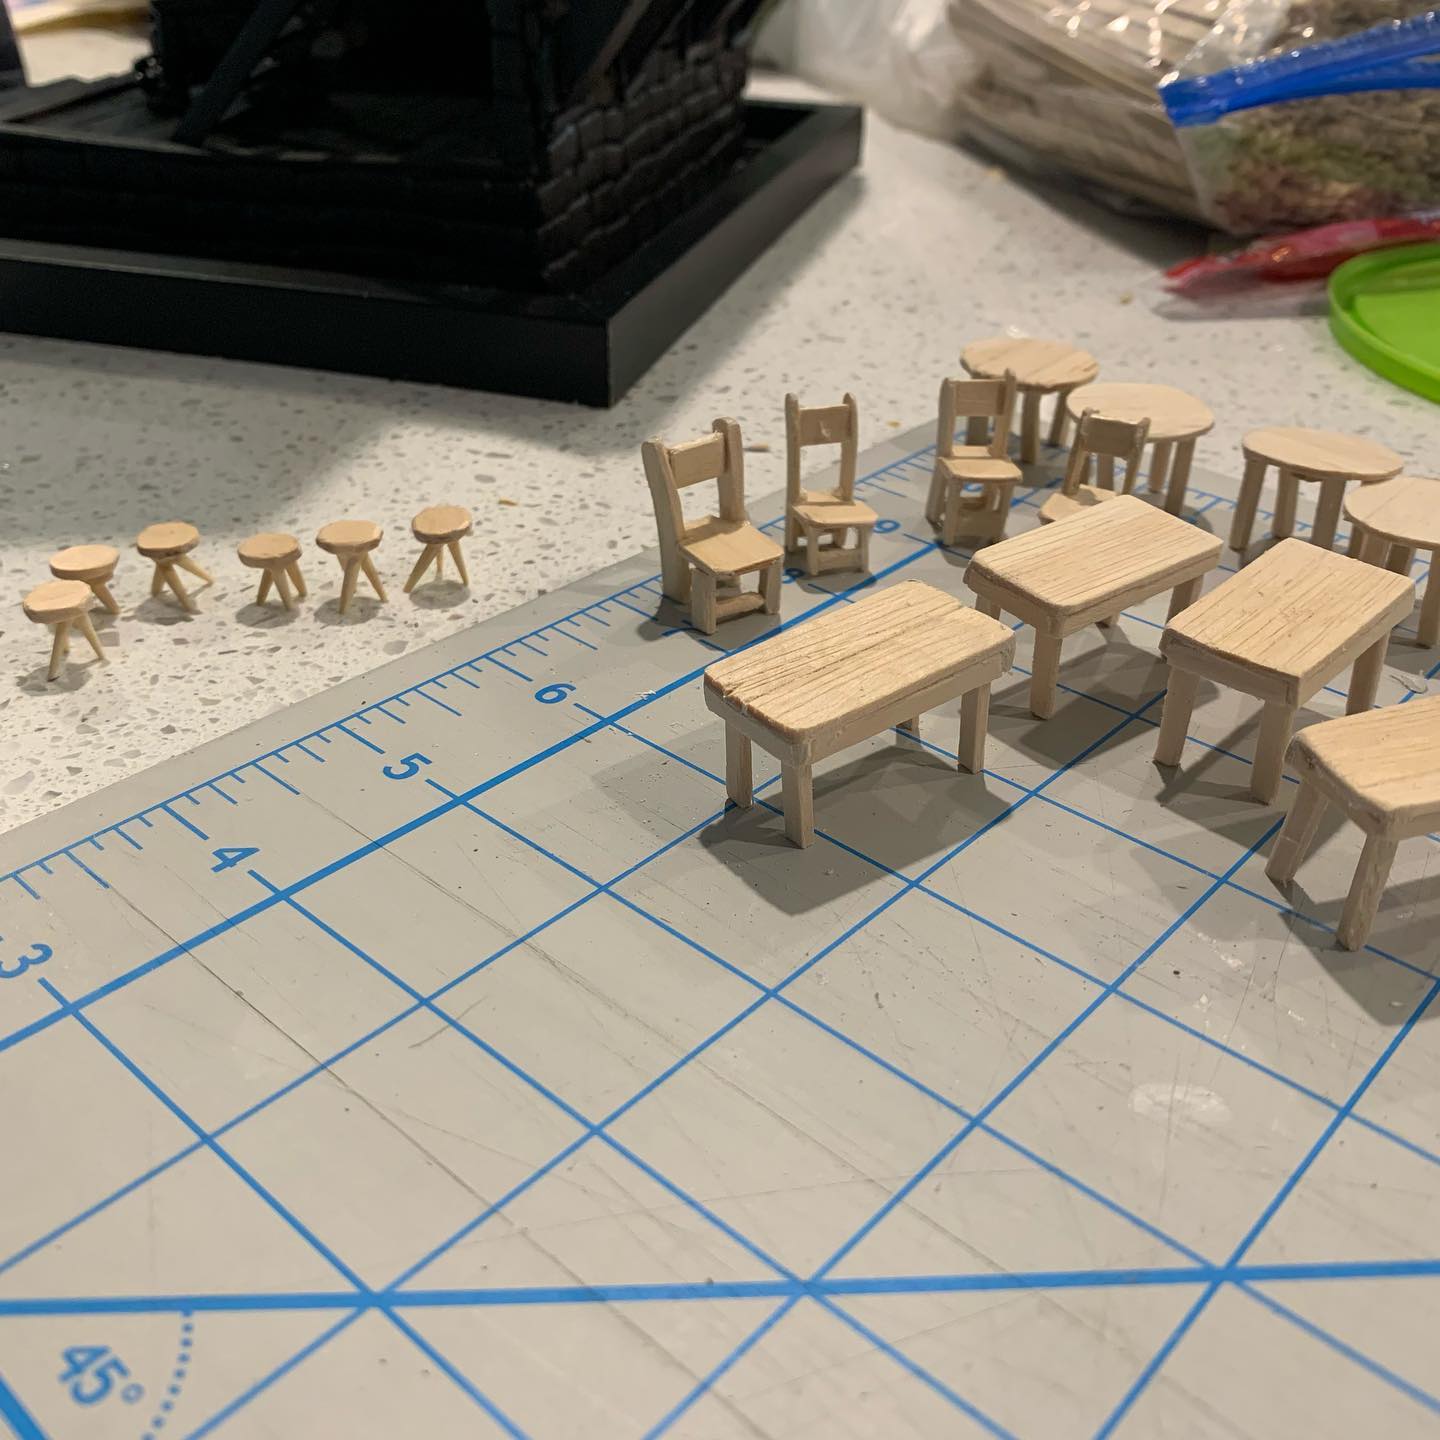
The finished furniture felt much more substantial. The chairs were really cool to build, but they were hard to construct, so stools will have to suffice for most of the guests.
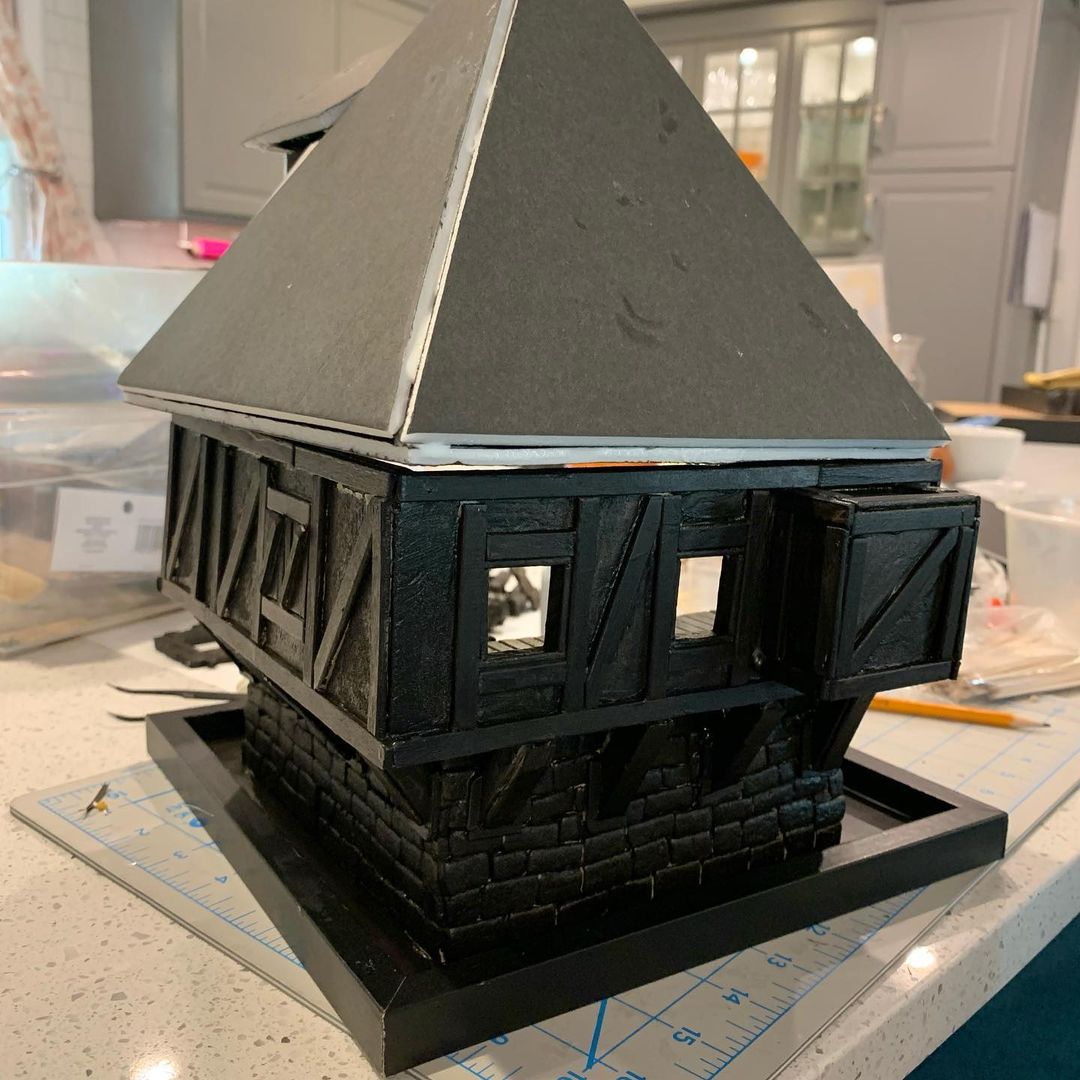
I painted the main structure in a mixture of mod podge and black paint, which is a practice I watched on several YouTube videos. I think in the future I would just mix in whatever base coat I wanted. Mod podge is basically paintable PVA glue, and stiffens and hardens all of the structure.
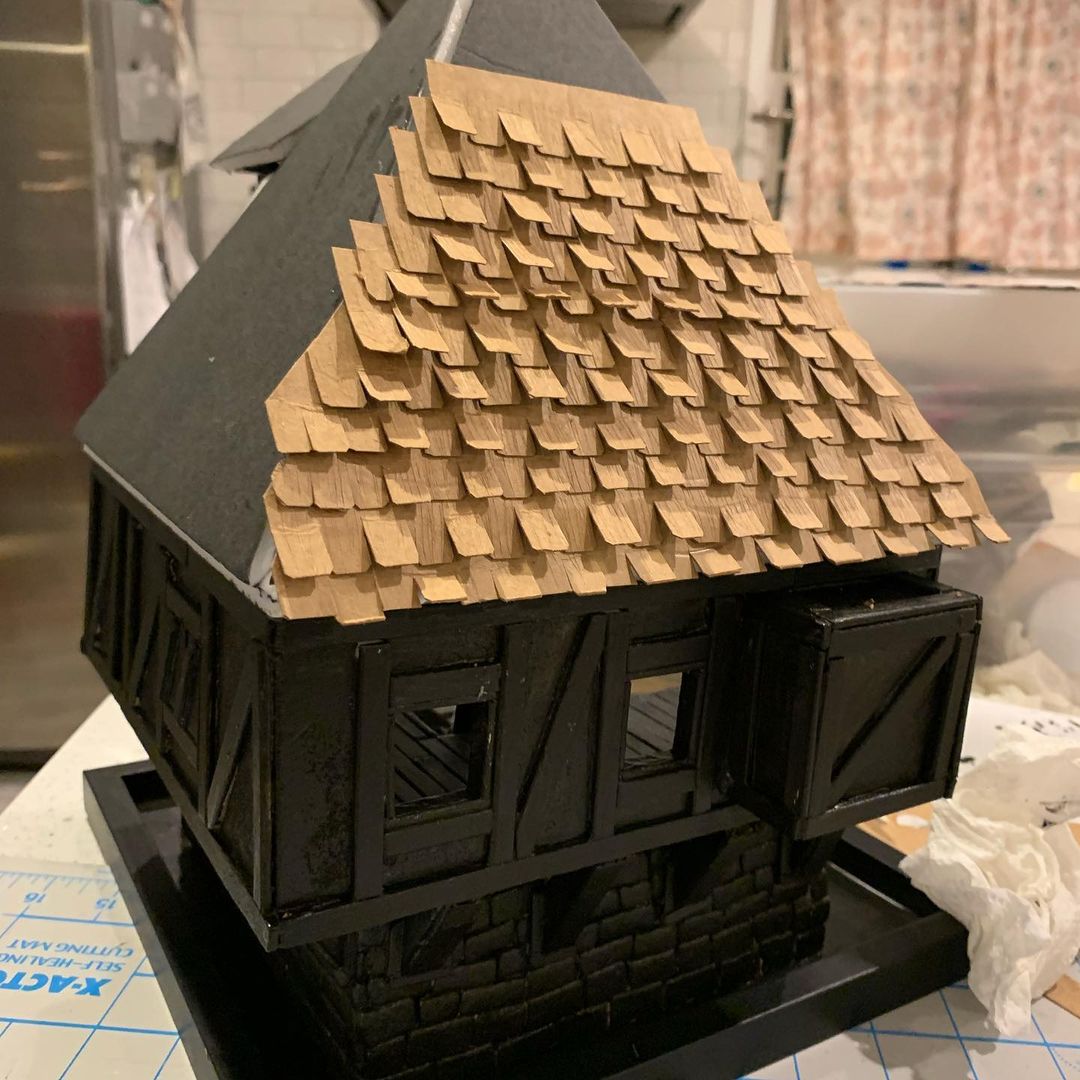
I didn’t take as many photos of this process, but it was painful and horrible. I got packaging trash (old Fresca boxes) and cut them into long strips. Then I used scissors to cut out each tile like you see here. Finally I scratched the surface with a blade to weather it. This took many nights to finish.
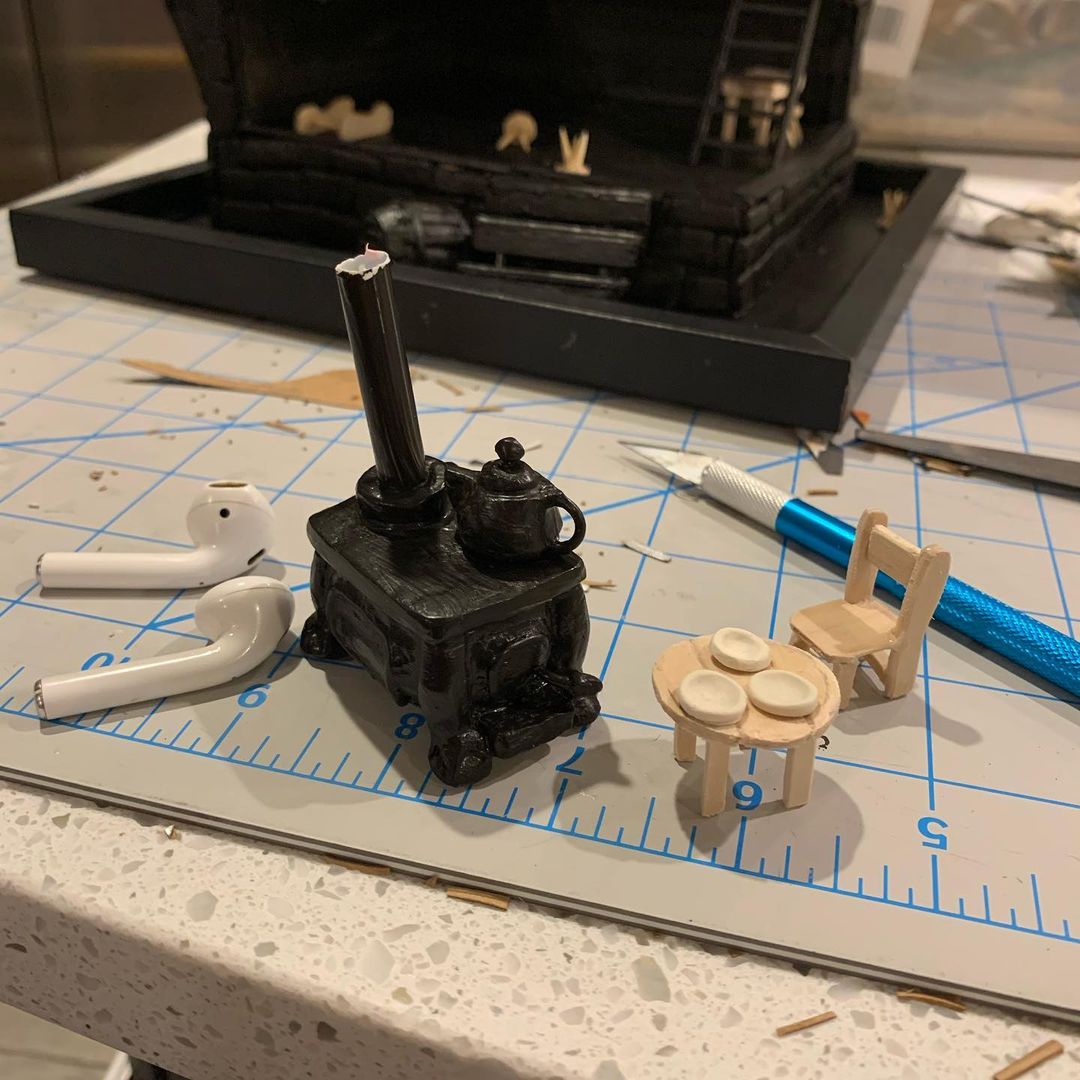
I decided the tavern needed a cute little stove. I sculpted this out of polymer clay. The chimney piece I built out of plastic straws. The plates I built on a whim out of polymer clay. I considered far more elaborate dinner ware, but decided to keep it simple for the sake of time.
Painting
I did not document the painting process. It was one of my favorite parts of working on it. It’s the point where it goes from looking like a miniature built with trash, to a miniature that looks realistic.
The stove was painted flat black and the dry brushed with silver metallic paint. The weathering on the walls was a bit of a happy accident. I taped off a part to paint the wood, and it ended up pulling up a layer of paint. It looked kind of nice so I just left it.
For the furniture I used a stain and finish combination that I had from a previous home project. It was a little too bright, so afterwards I hit it all with a dry brush.
The general pattern painting was:
- Base coat with mod podge and black paint.
- A layer of the color.
- Dry brush for character.
- A heavily thinned brown for a dirt wash.
The other interesting painting technique I did was for the ground. I used acrylic medium and a palette knife to apply it thickly to the ground. I tinted it a muddy brown, then went over the top with a white fairly dry paint. Then I used snow flocking. It looked a bit like a mold infestation, but was good enough.

